Testing and Going Live
To test your integration, use the test credentials below. These work in test mode only — no real money is moved. Your test API credentials are available in Command Center — Developer Settings.
Test Credentials
Cards
For testing card payments, use the following test cards to make transactions in test mode.
Domestic Cards
| Card Network | Card Number | CVV | Expiry Date |
|---|---|---|---|
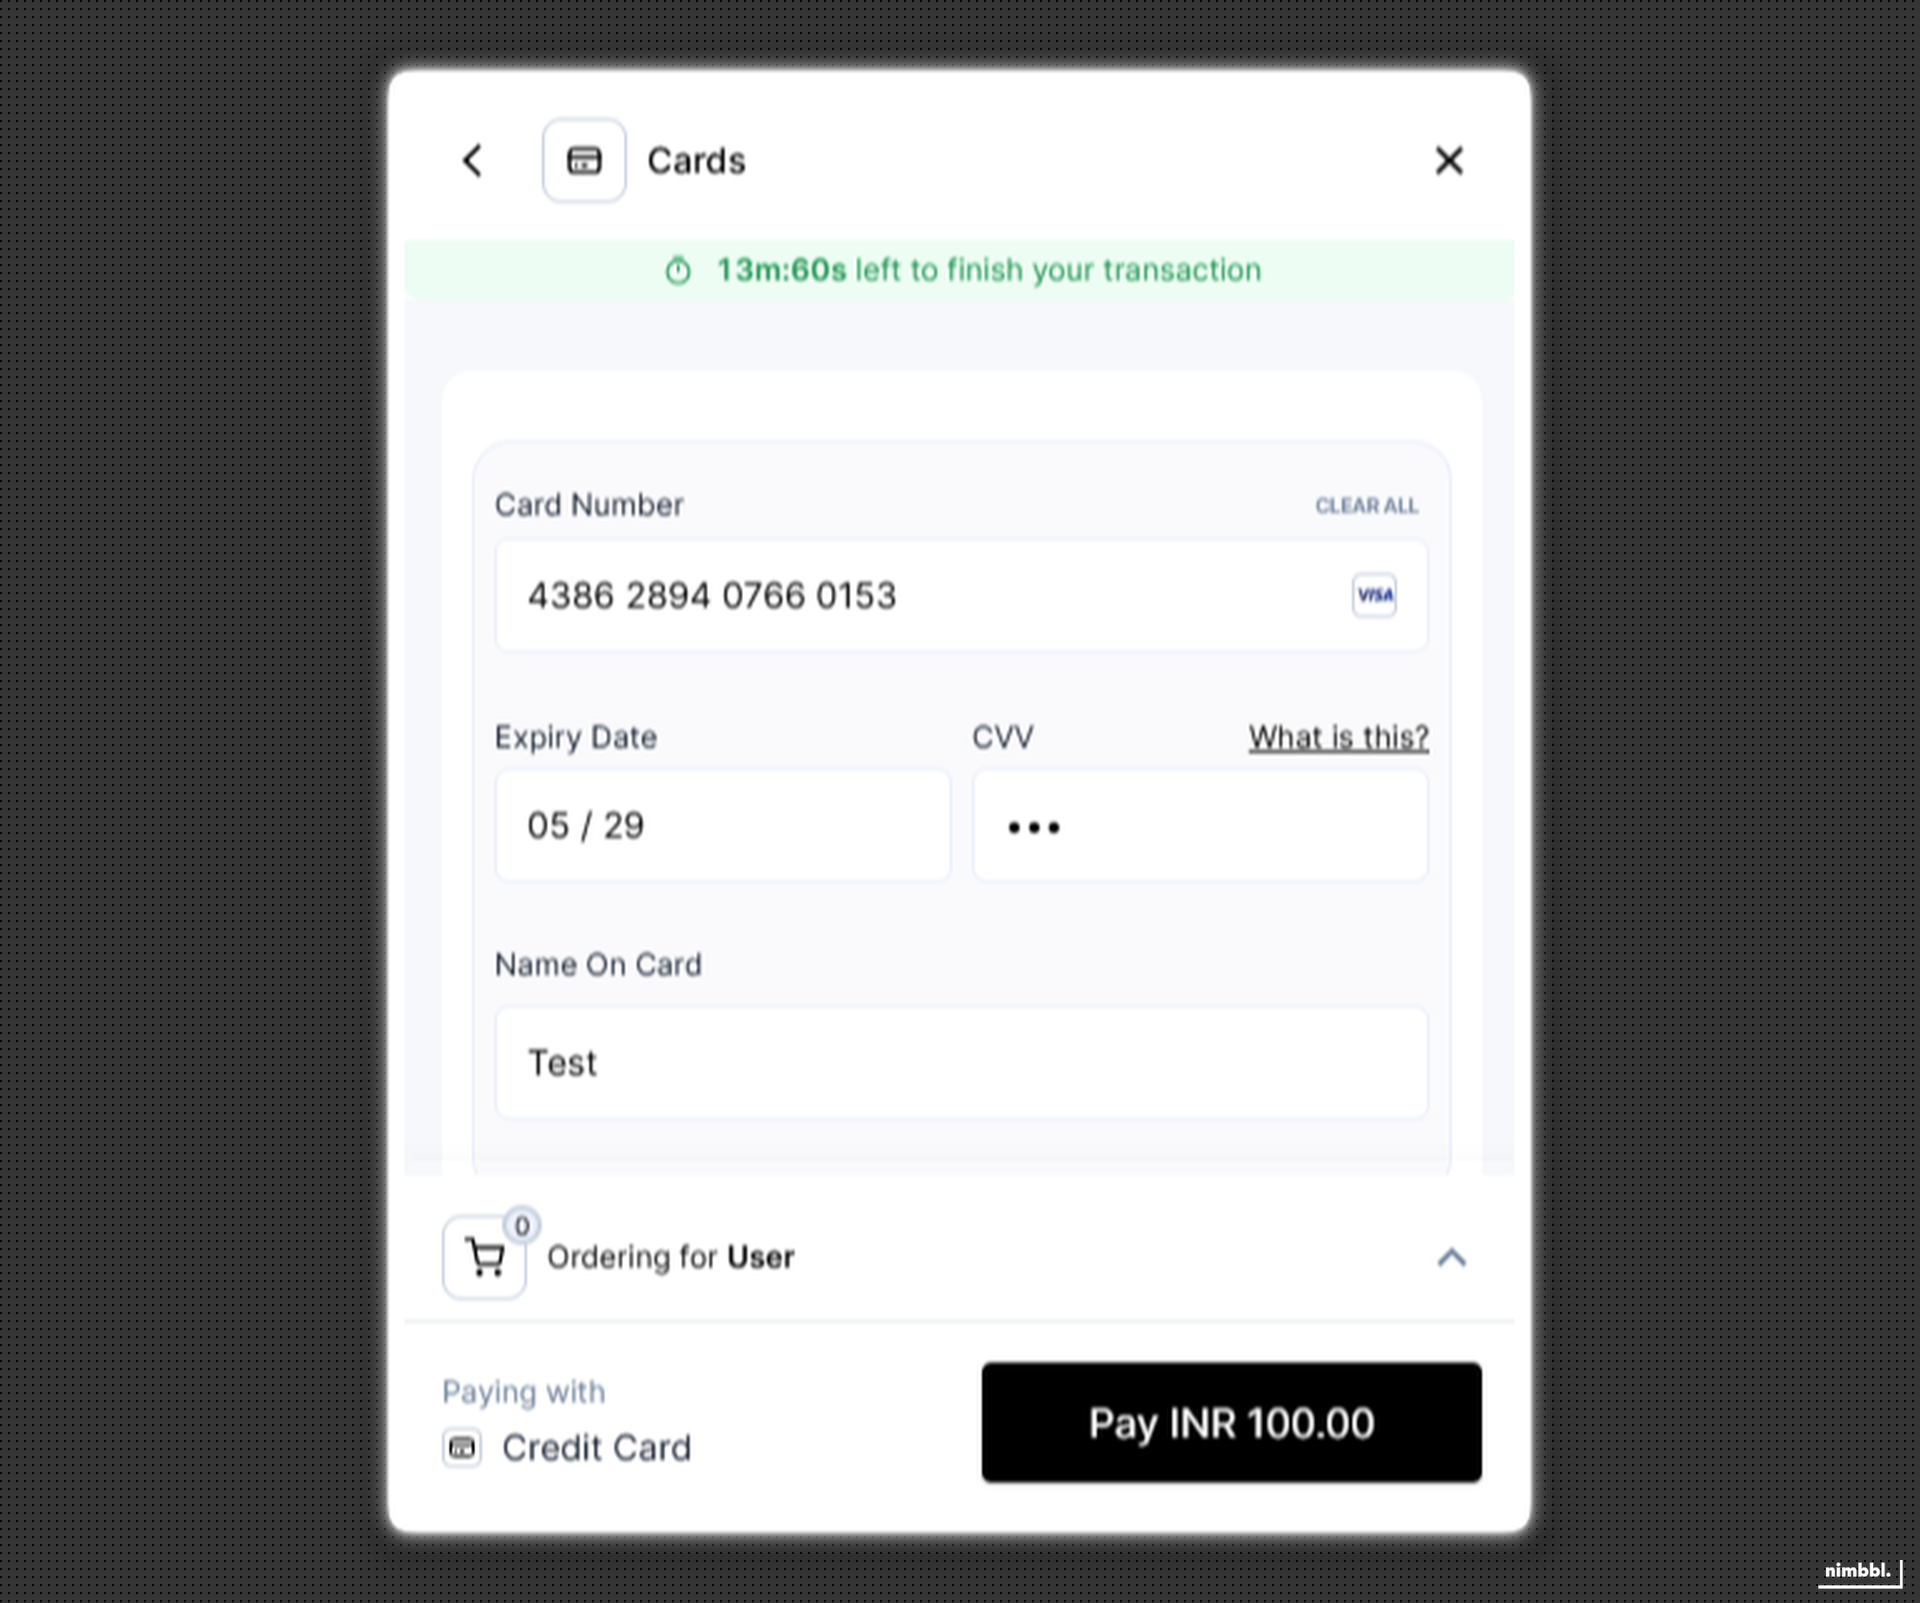
| VISA | 4386 2894 0766 0153 | Any 3 digit number | Any Future Date |
| Mastercard | 5104 0600 0000 0008 | Any 3 digit number | Any Future Date |
Enter Card Details
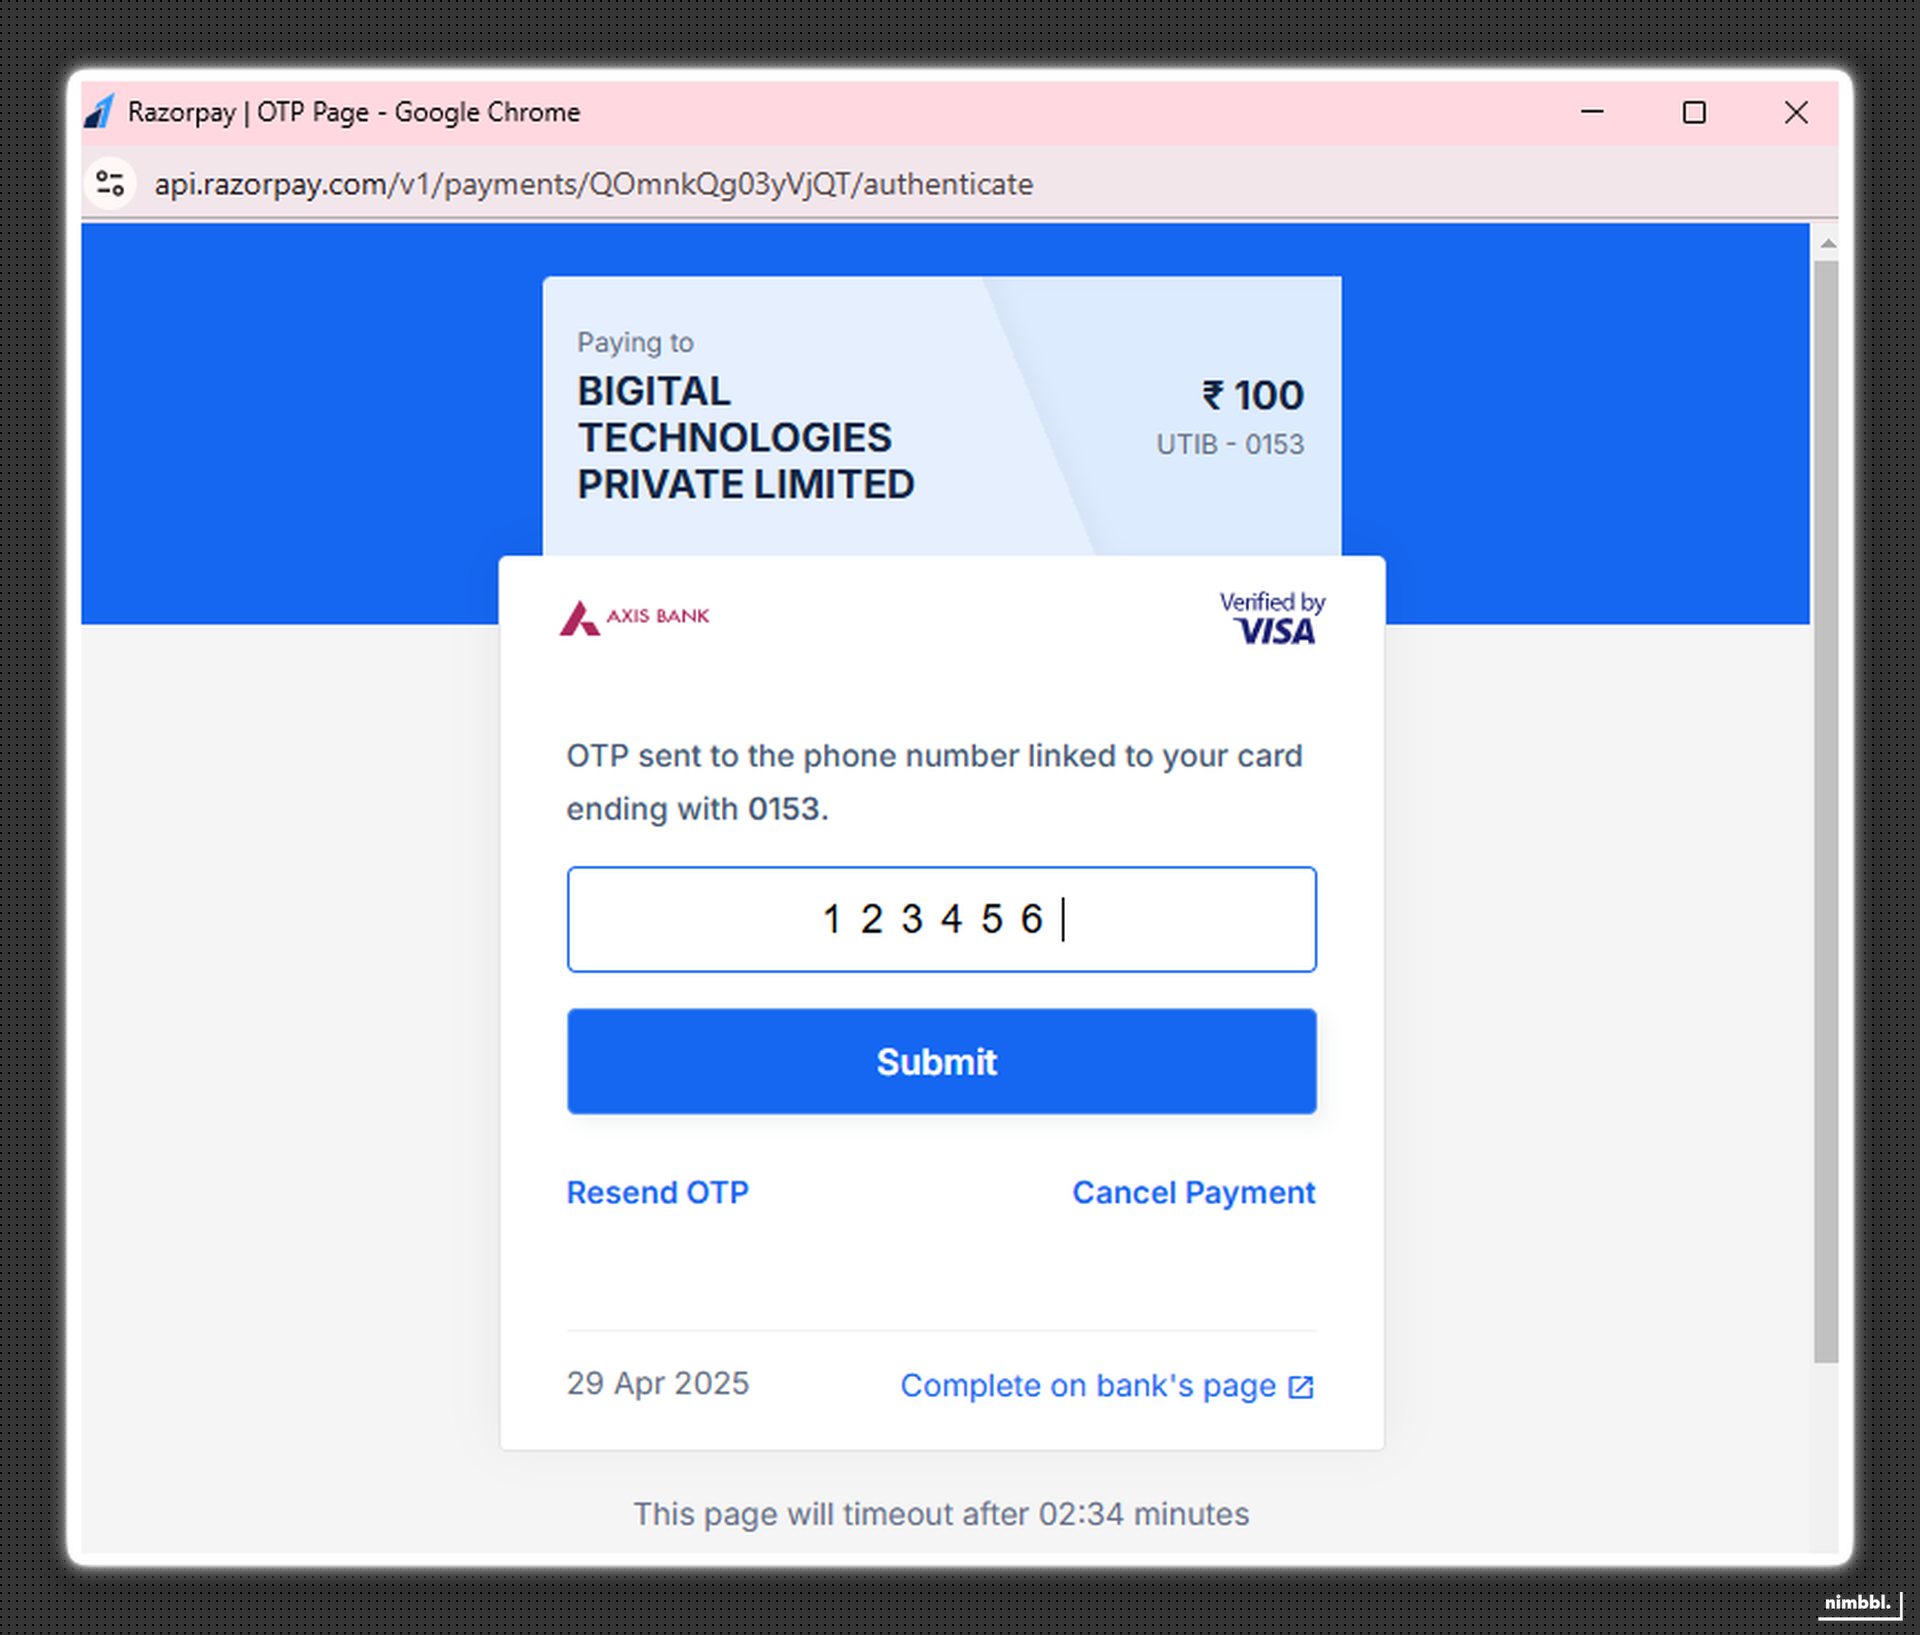
Enter OTP
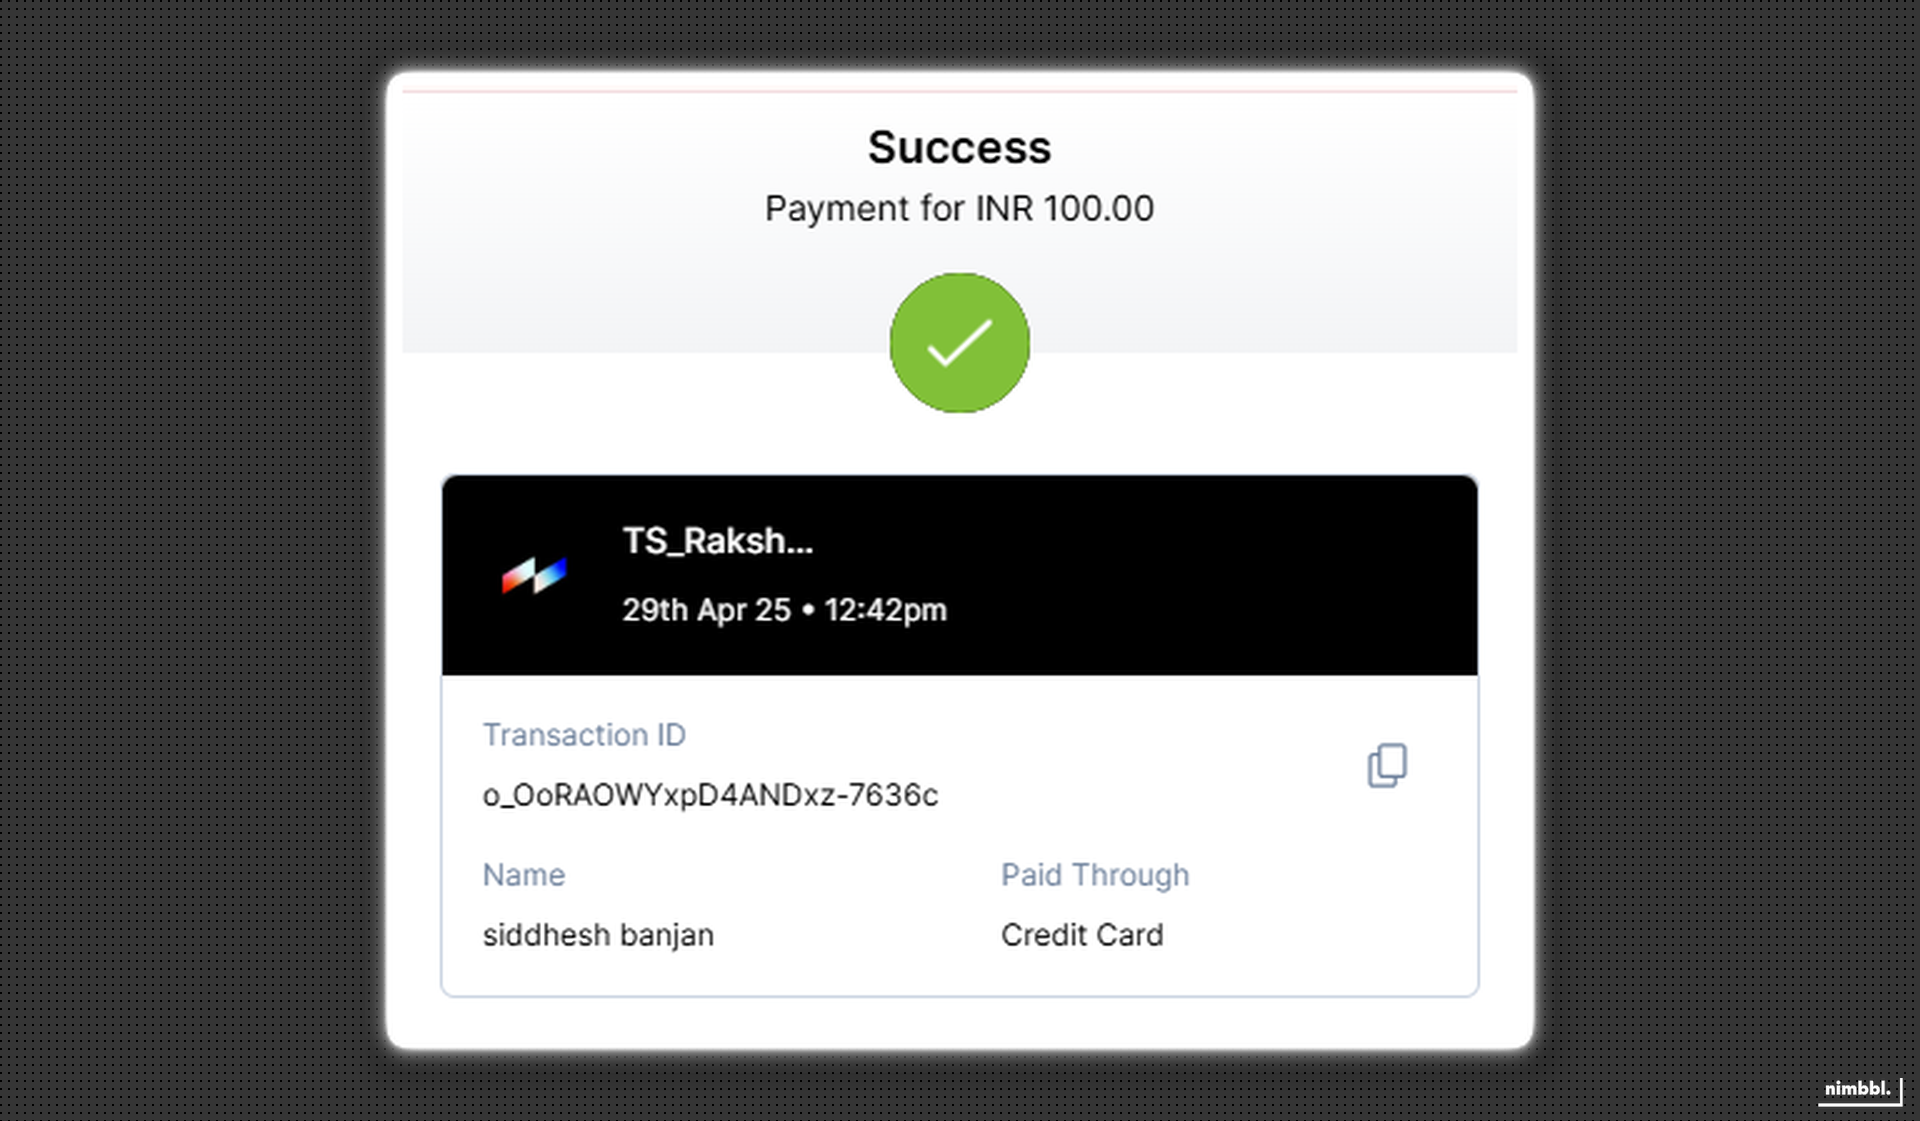
Payment Success
Netbanking
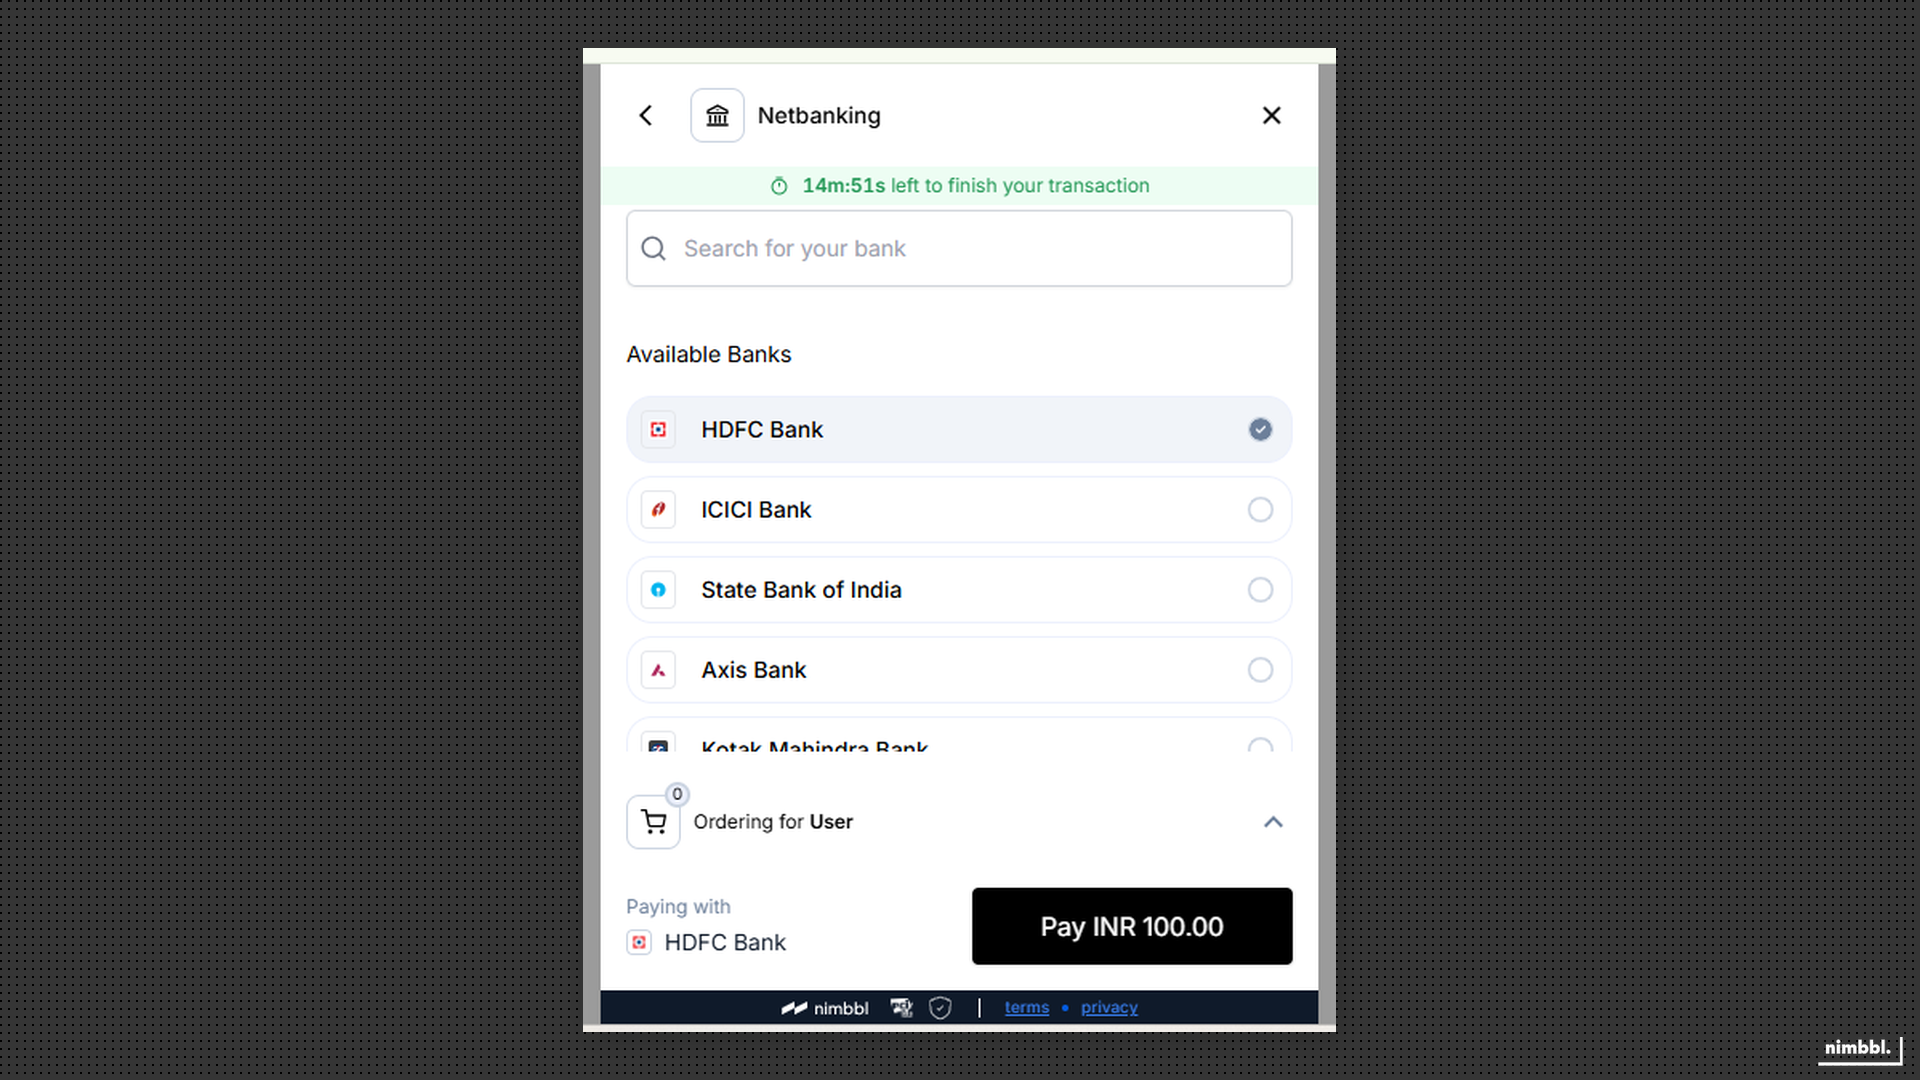
You will be able to simulate the testing for only Axis Bank.
Select Bank
Simulate Response
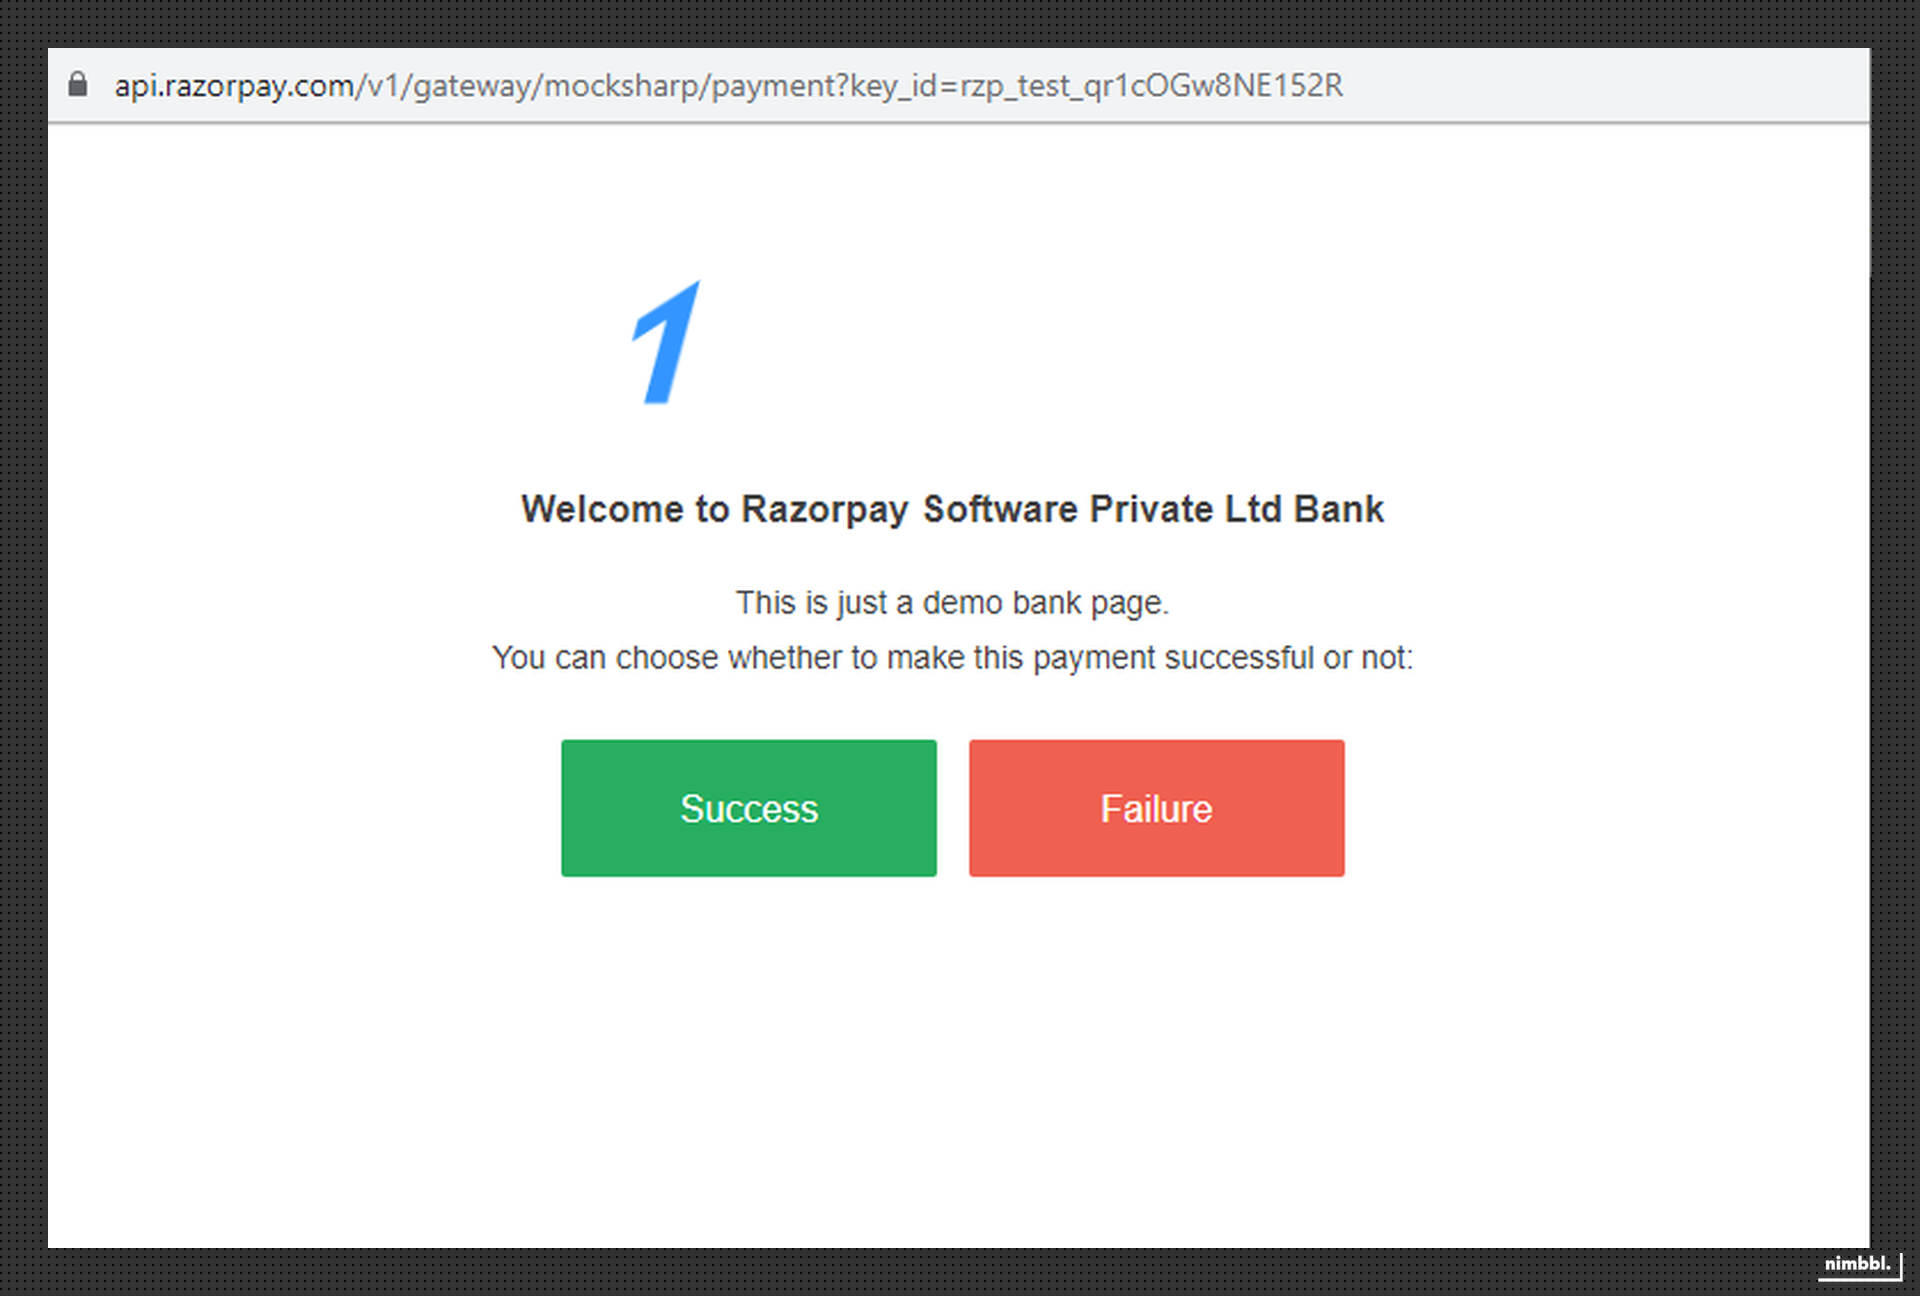
Payment Success
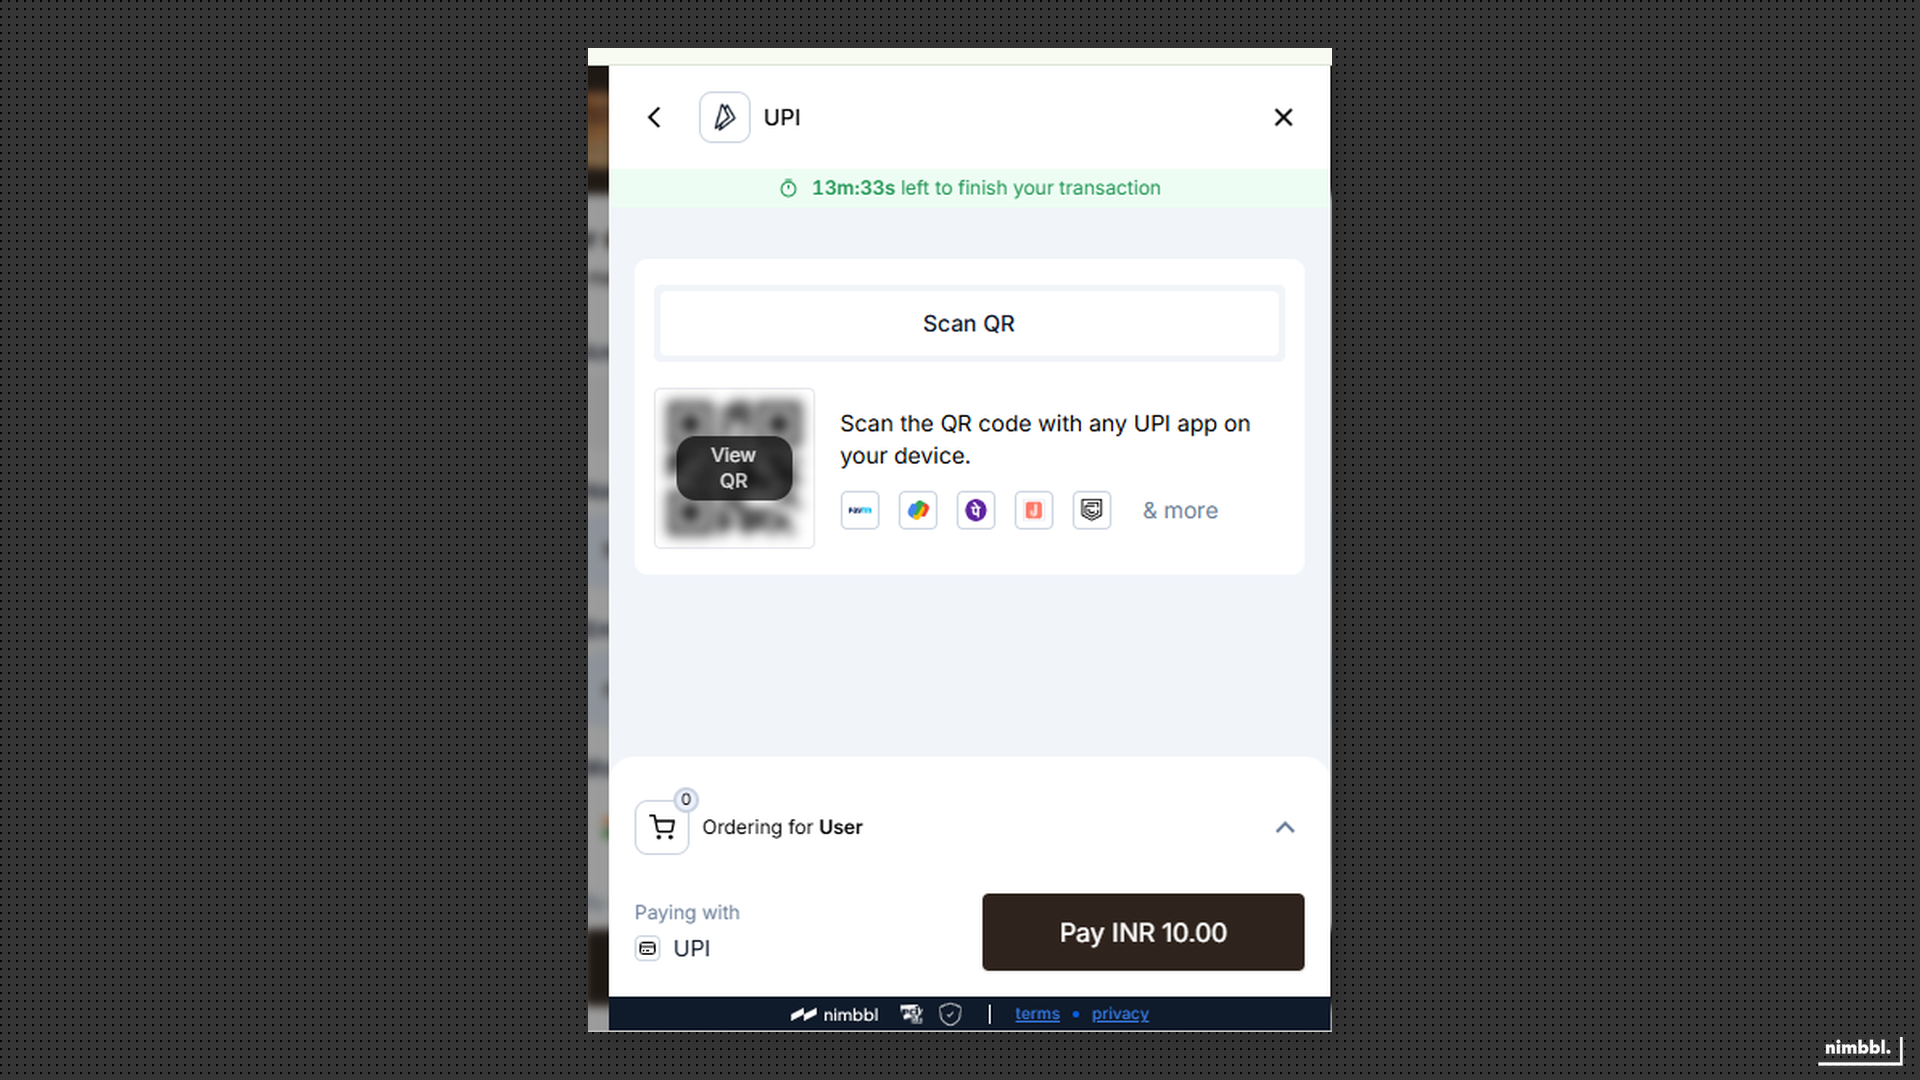
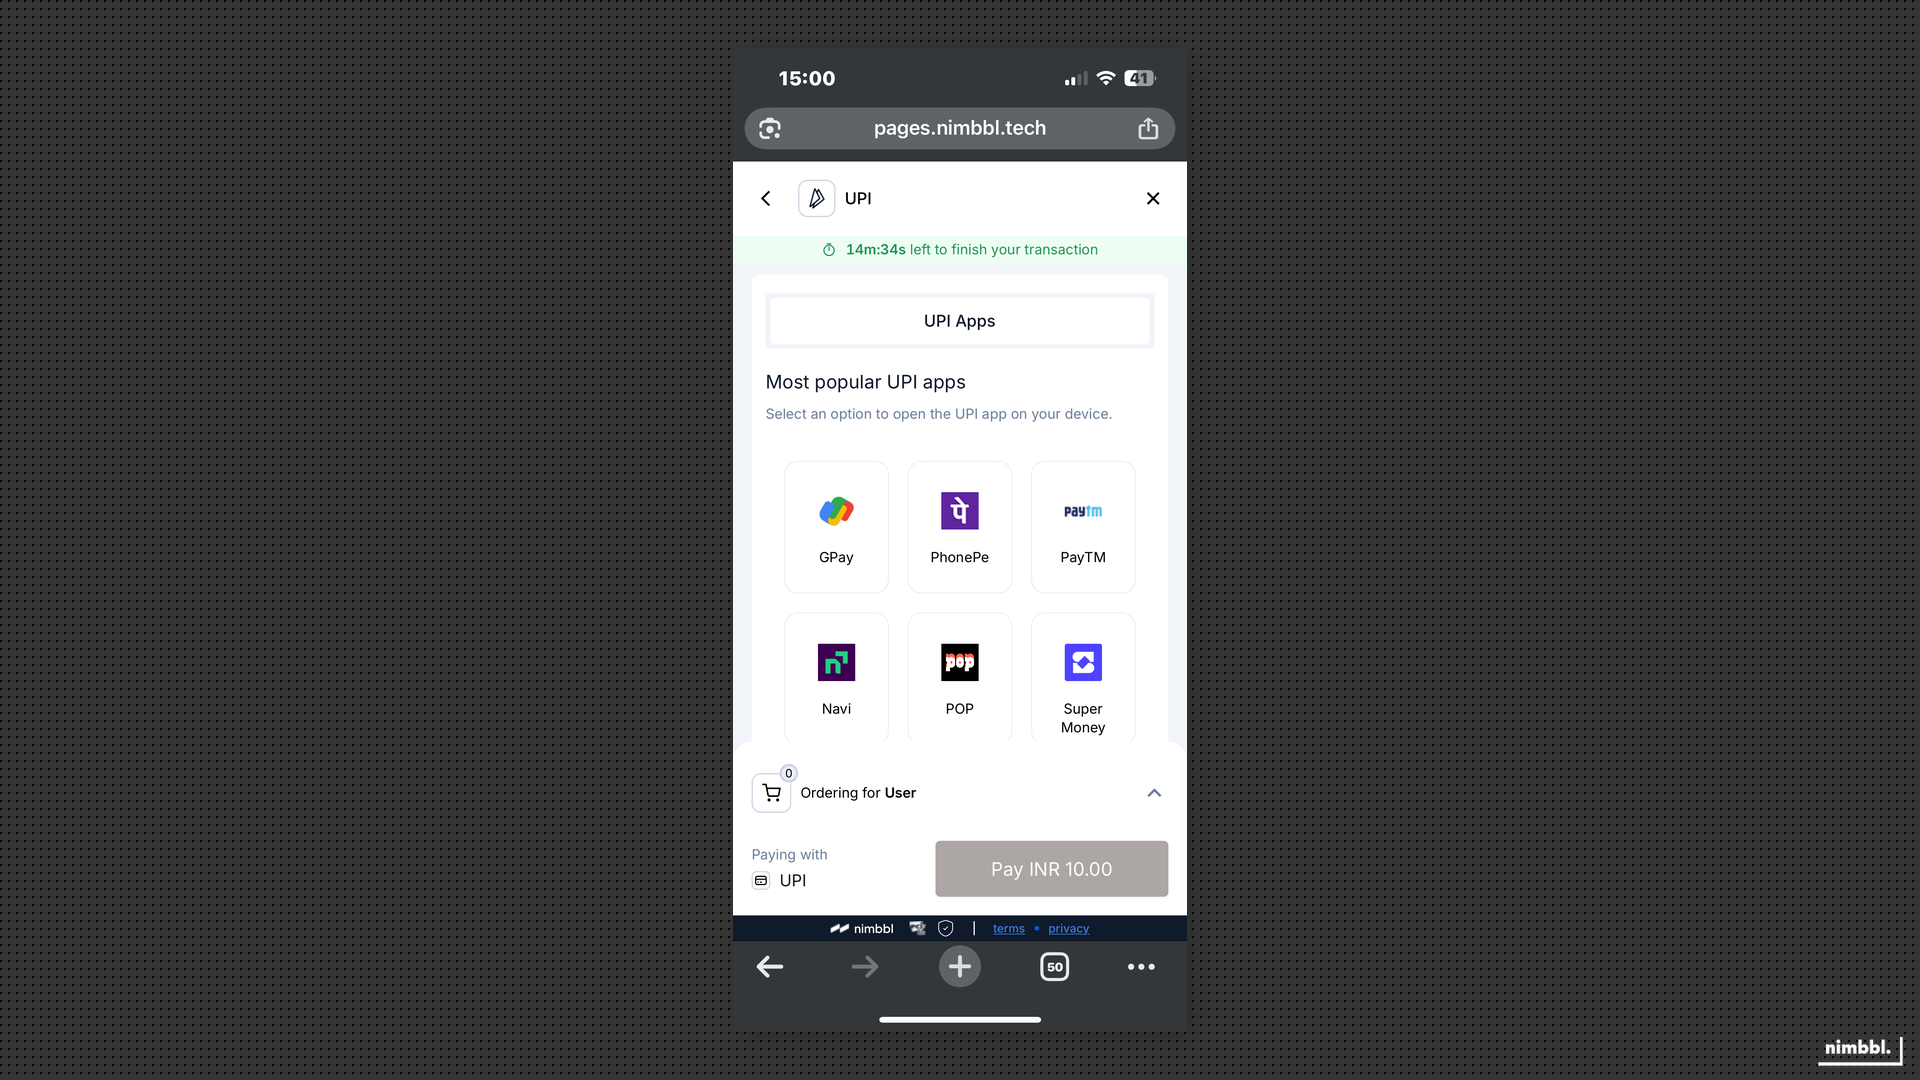
UPI
For testing UPI payments, use the following VPA IDs to simulate success and failure responses in test mode.
| VPA ID | Simulate Response |
|---|---|
| success@upi | Success |
| failure@upi | Failure |
Scan QR
Select UPI App (Intent)
Payment Success
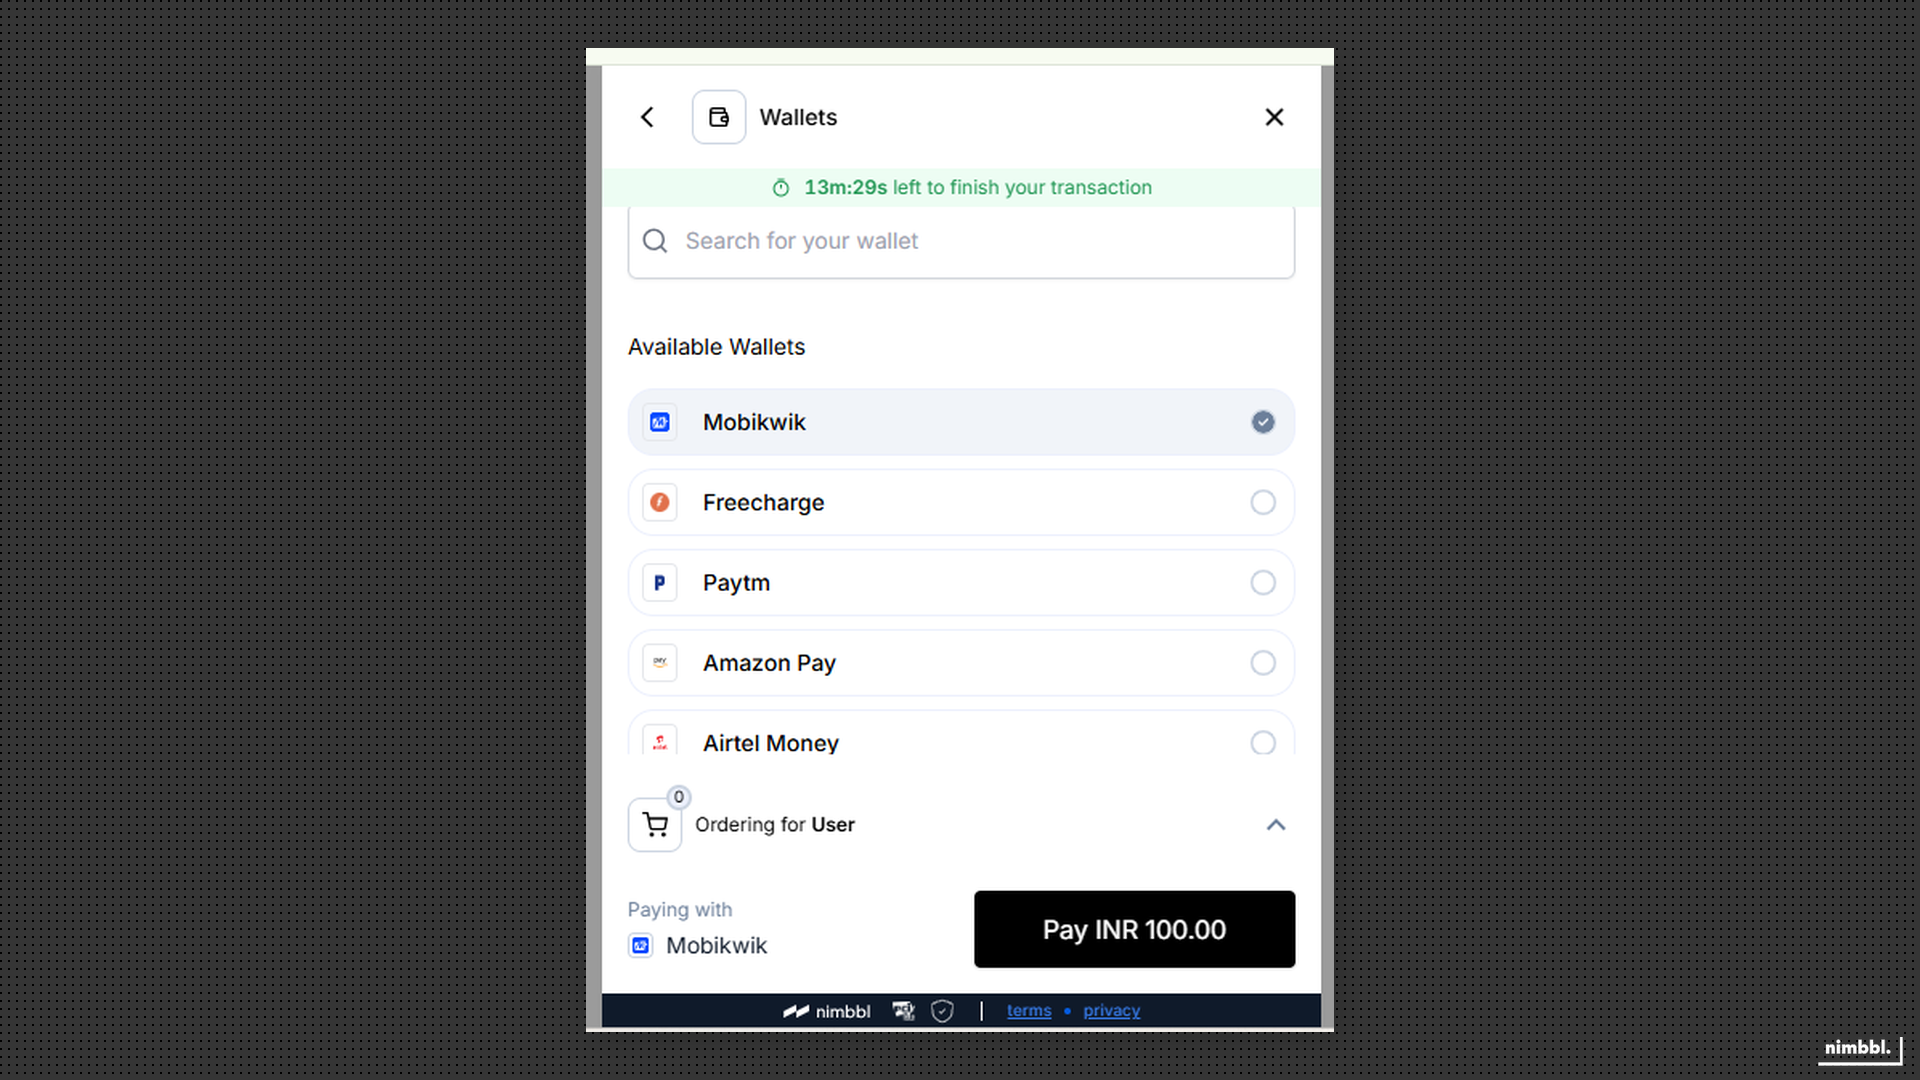
Wallets
For testing wallet payments, select a wallet provider to make transactions in test mode.
Select Wallet
Simulate Response
Payment Success
Pay Later
To test Pay Later, share the mobile number with the Nimbbl team at [email protected]. Once whitelisted, you can test Pay Later transactions for that number.
Moving to Production
After you have completed and tested your integration:
- Contact the Nimbbl team at [email protected] — Nimbbl will review your integration and confirm readiness
- Complete onboarding — once the integration review and payment partner onboarding processes are complete, your live credentials are activated
- Switch to live credentials — replace your test Access Key and Access Secret with the live credentials available in Command Center — Developer Settings