People
Go to Manage > People in Command Center to manage users across your partner organization. From here you can add both partner-level and merchant-level users, assign roles, configure access to merchant accounts, and manage existing team members. This is the same People page that merchants use — as a partner, you see additional options like the user type selector and merchant access controls. To update your own details, go to My Profile.
Adding Users
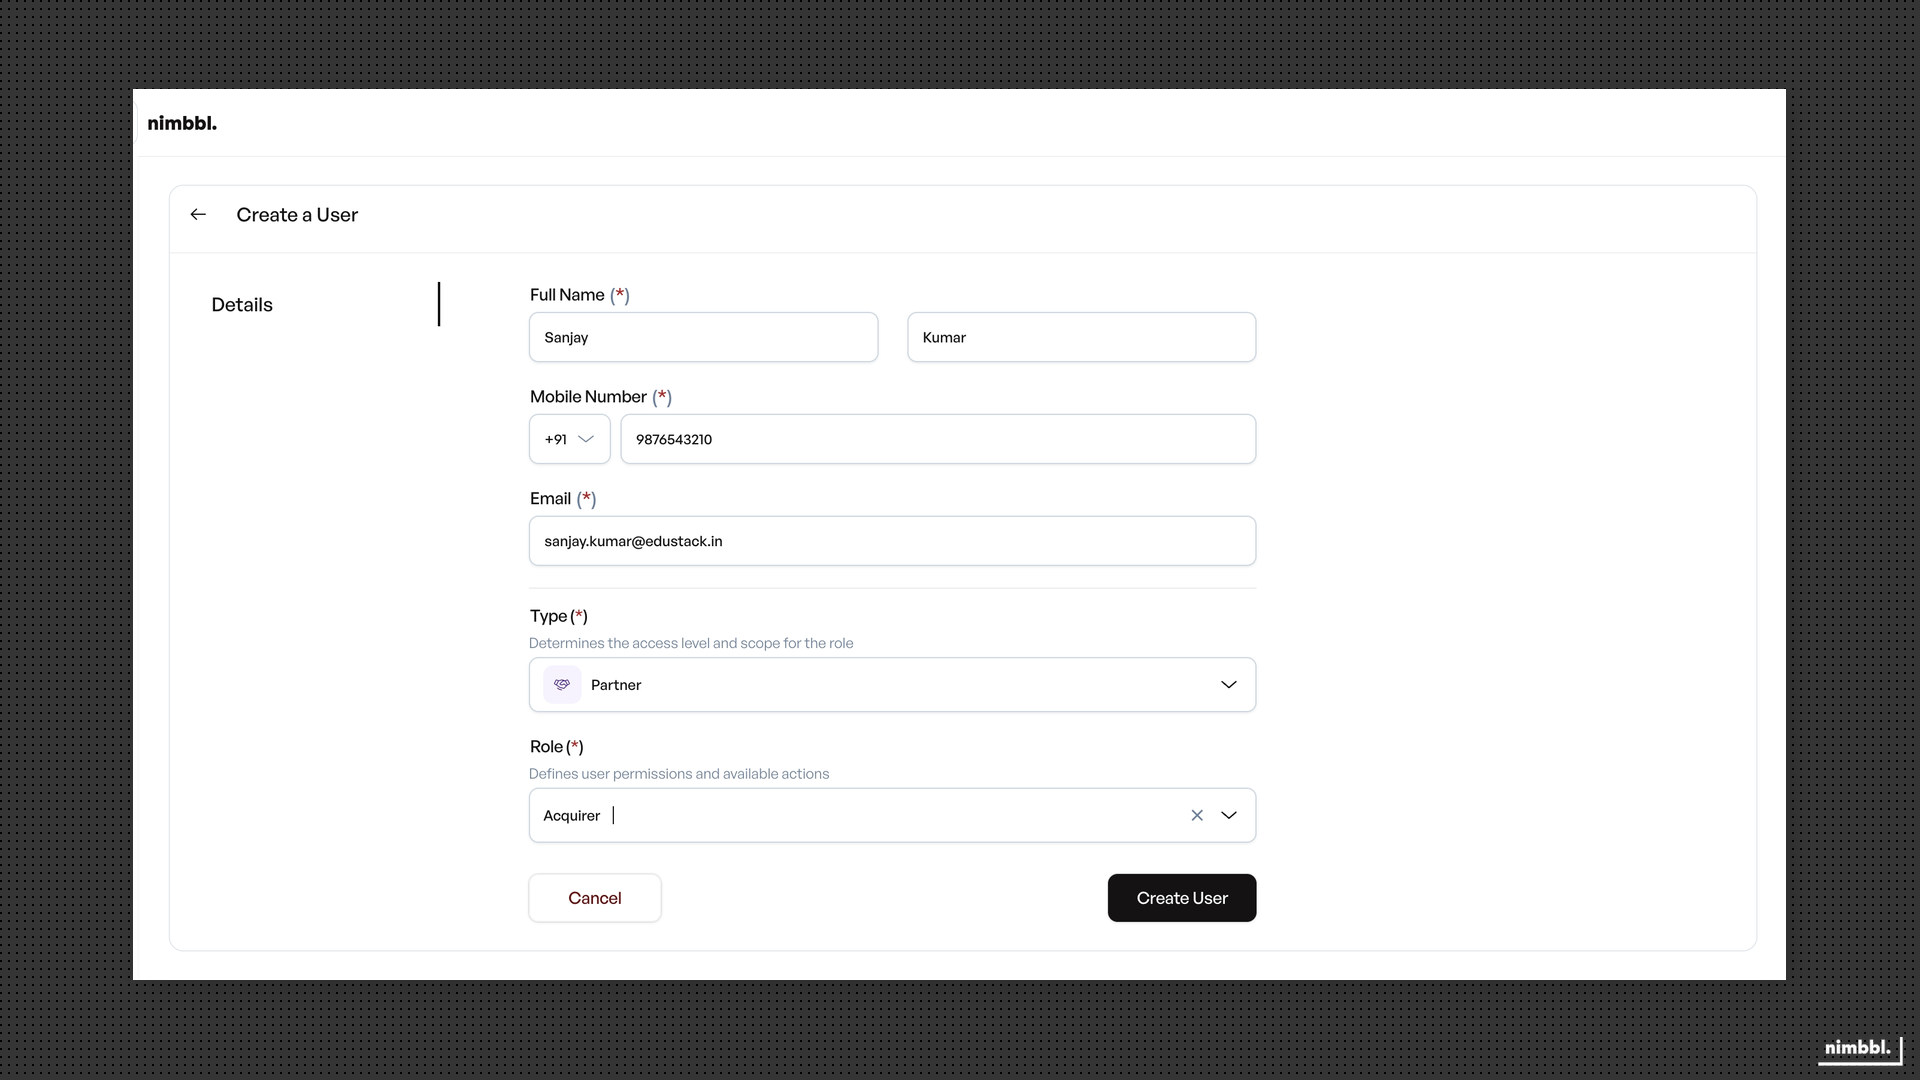
To add a new team member, go to Manage > People and select Create. The form collects the following:
- First name and Last name — required.
- Mobile number — with country code.
- Email — required and must be unique across all users in the system. Email cannot be changed after the user is created.
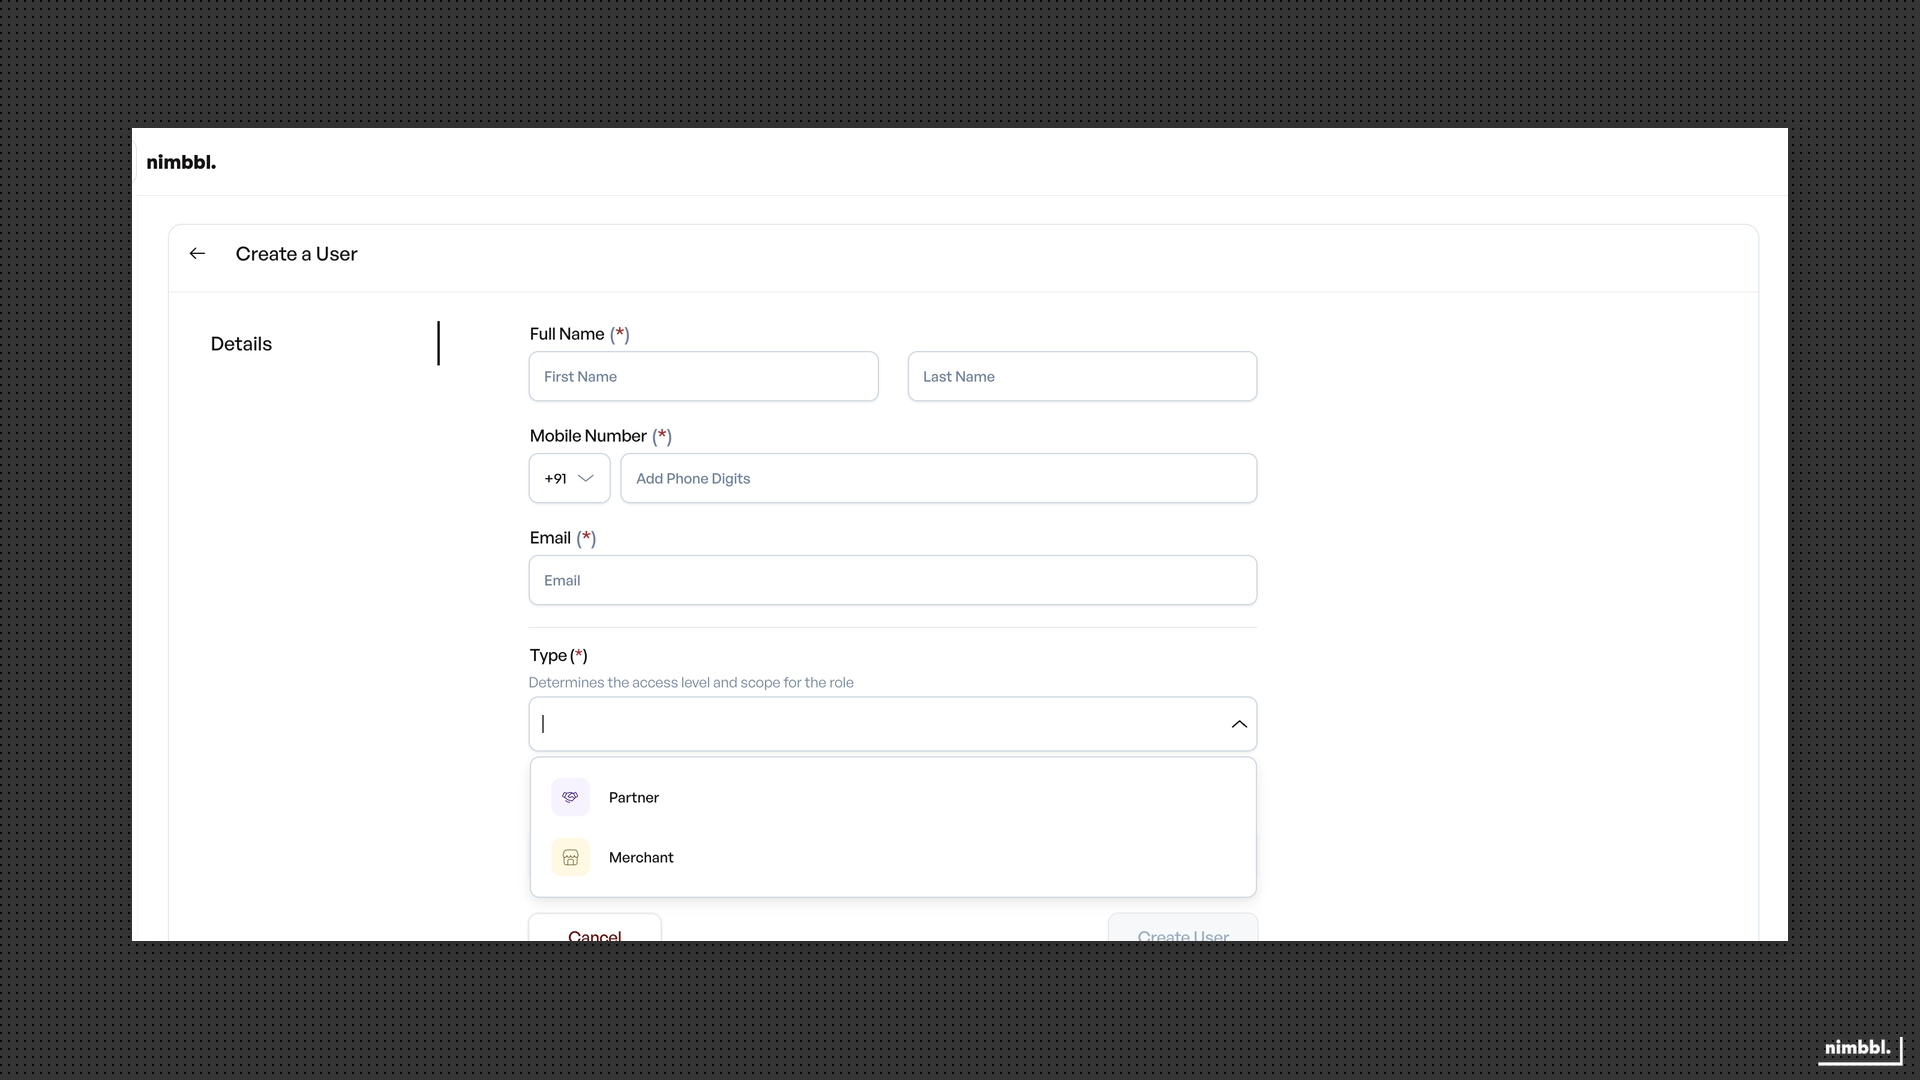
Choosing a User Type
After entering details, choose the Type of user you are creating. This determines the role set and access scope available:
- Partner — the user operates at the partner level. You assign a partner role (Acquirer, Lead, Coordinator, Associate, or Scout) and choose which merchants they can access.
- Merchant — the user operates within a specific merchant account. You assign a merchant role (Owner, Manager, Agent, or Viewer) and choose which sub-merchants they can access within that merchant.
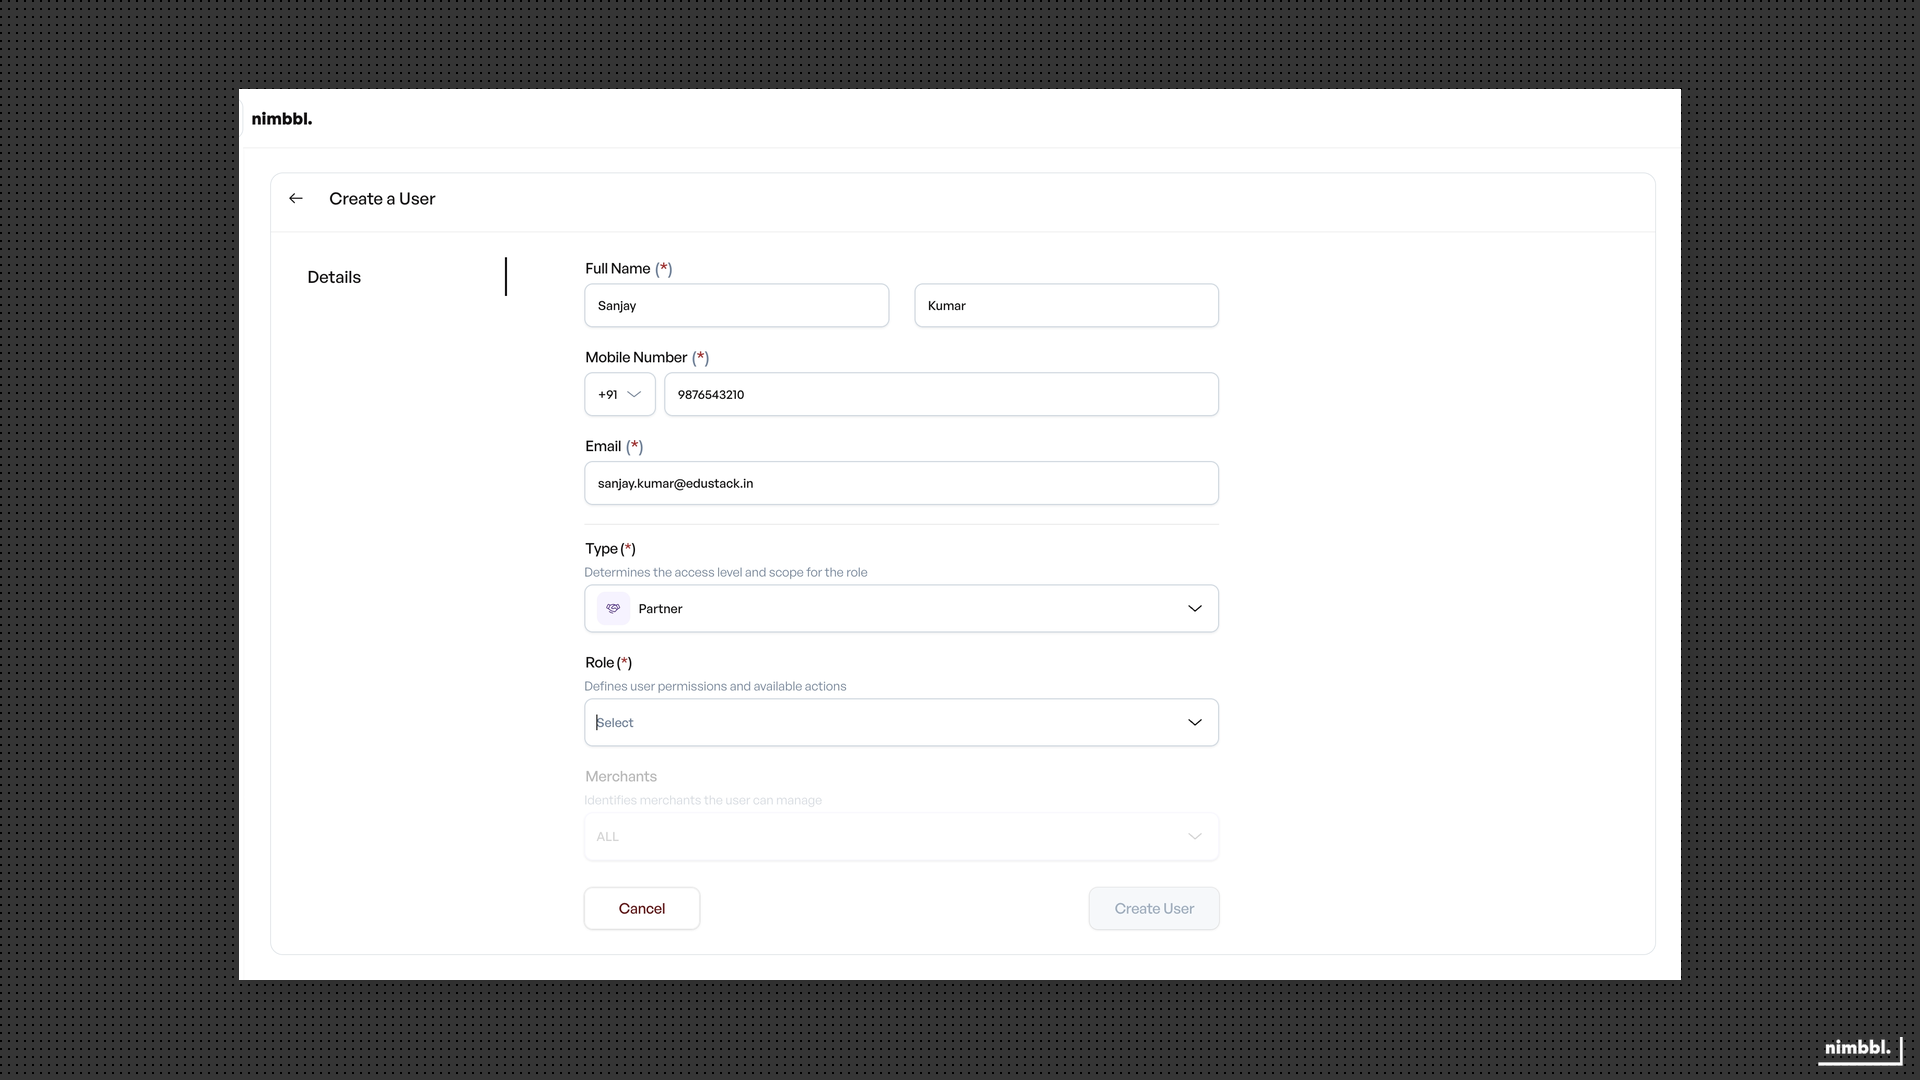
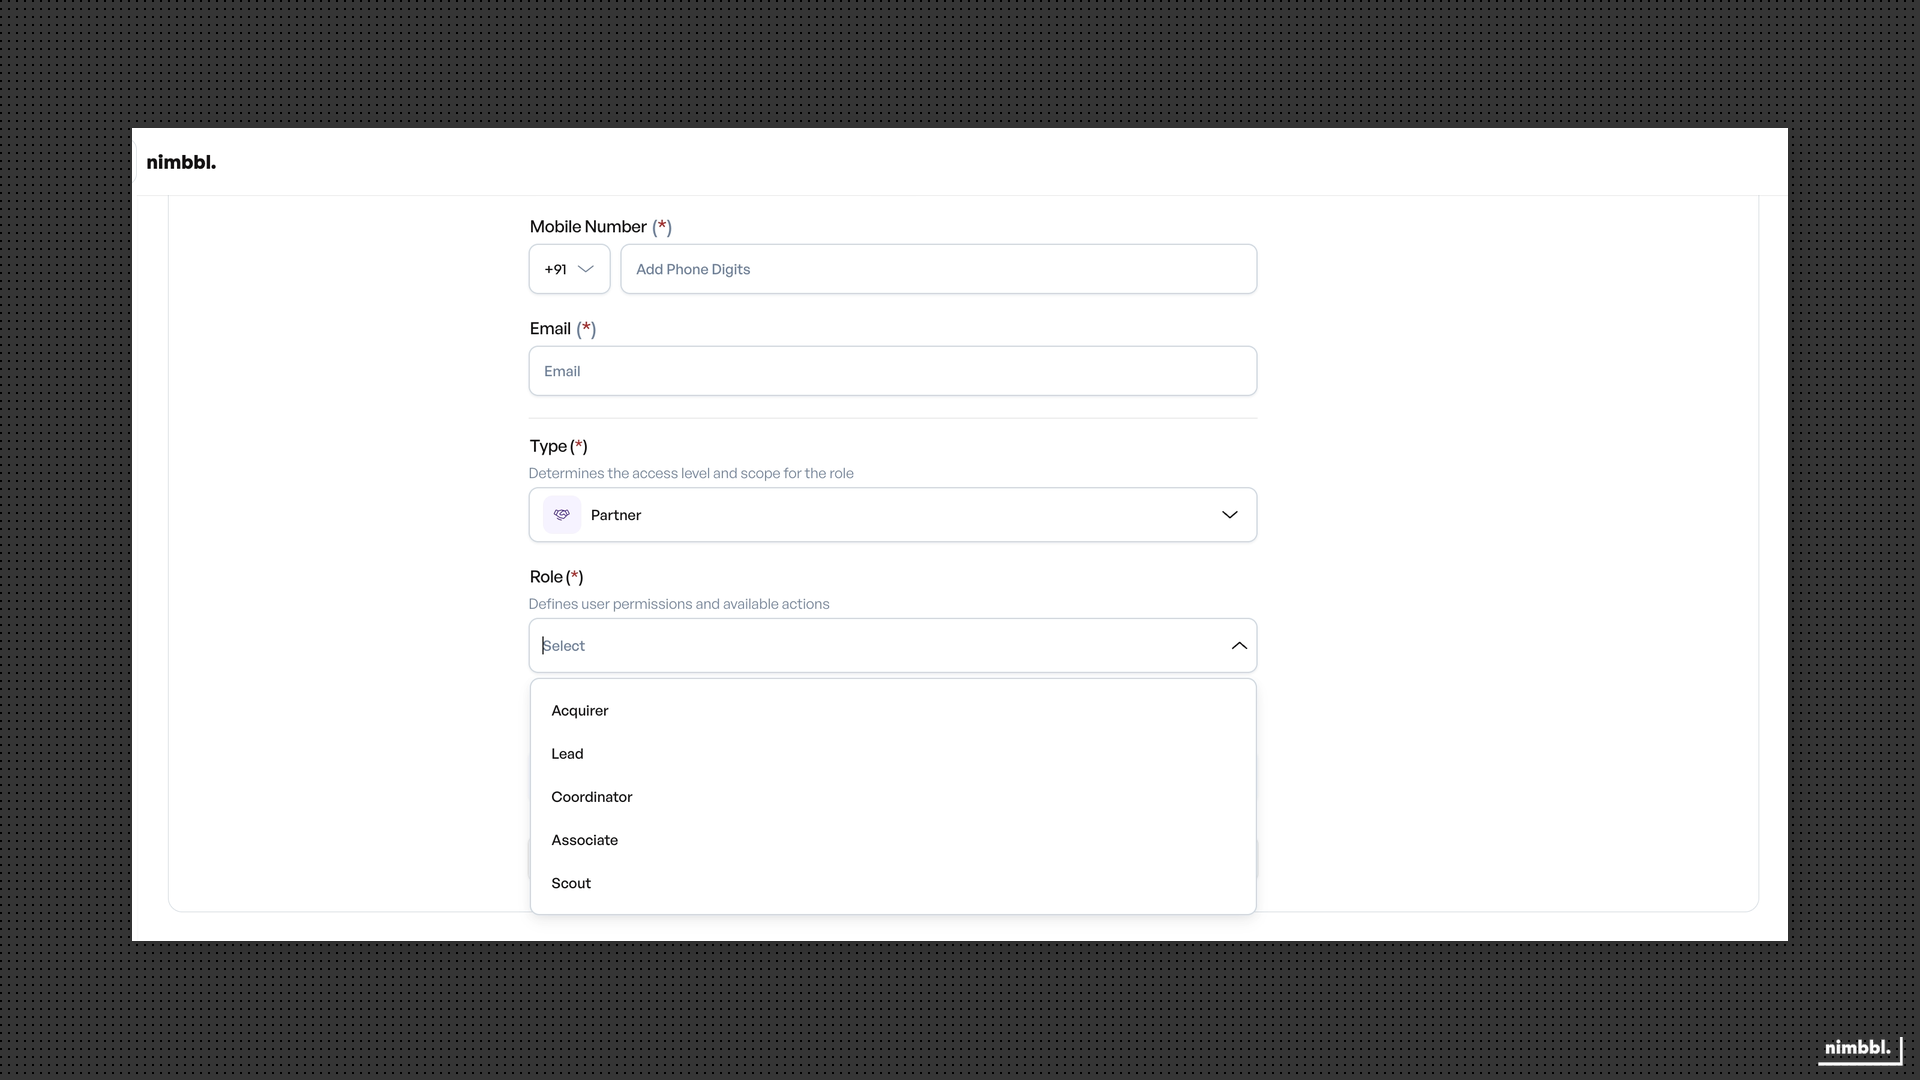
Role and Access Configuration
Once you select a type, the form shows the corresponding role dropdown and access selector:
- For Partner-type users — select a partner role, then choose which merchants the user can access. You can select one, multiple, or all merchants.
- For Merchant-type users — select a merchant role, then choose which sub-merchants the user can access within that merchant. You can select one, multiple, or all sub-merchants.
A user's role defines what they can do. Their access scope defines what they can see. Together, these form the complete permission set.
After configuring role and access, select Create User. The new user receives an email invitation to set their password and log in.
Partner Roles
Every partner-type user is assigned one role that determines what they can do in Command Center. Five roles are available, listed from most to least access:
| Role | What they can do |
|---|---|
| Acquirer | Full control over the partner organization. Can add and remove team members at any level, manage all merchant accounts, configure partner-level settings, and access all reports and data. |
| Lead | Manage merchant accounts and team members below their level. Can create users, assign roles (below Lead), view reports, and handle day-to-day operations. Cannot modify partner-level settings or manage other Leads or the Acquirer. |
| Coordinator | Handle operational tasks across assigned merchants. Can process transactions, manage orders, issue refunds, and view reports. Cannot add or manage team members. |
| Associate | Perform routine tasks within assigned merchant accounts. Can view transactions, process refunds, and manage individual orders. No access to reports, analytics, or team management. |
| Scout | Read-only access across assigned merchants. Can view transactions, orders, reports, and dashboards but cannot create, edit, or delete anything. Useful for auditing and oversight. |
When you create a merchant-type user instead, a different set of roles applies (Owner, Manager, Agent, Viewer). See Manage People for merchant role details.
Roles follow a hierarchy from Acquirer (highest) to Scout (lowest). Three rules govern role assignment:
- You can only assign roles below your own level. A Lead cannot assign the Acquirer or Lead role.
- You cannot edit or deactivate users at your level or above.
- You cannot change your own role. Another team member with sufficient access must do this.
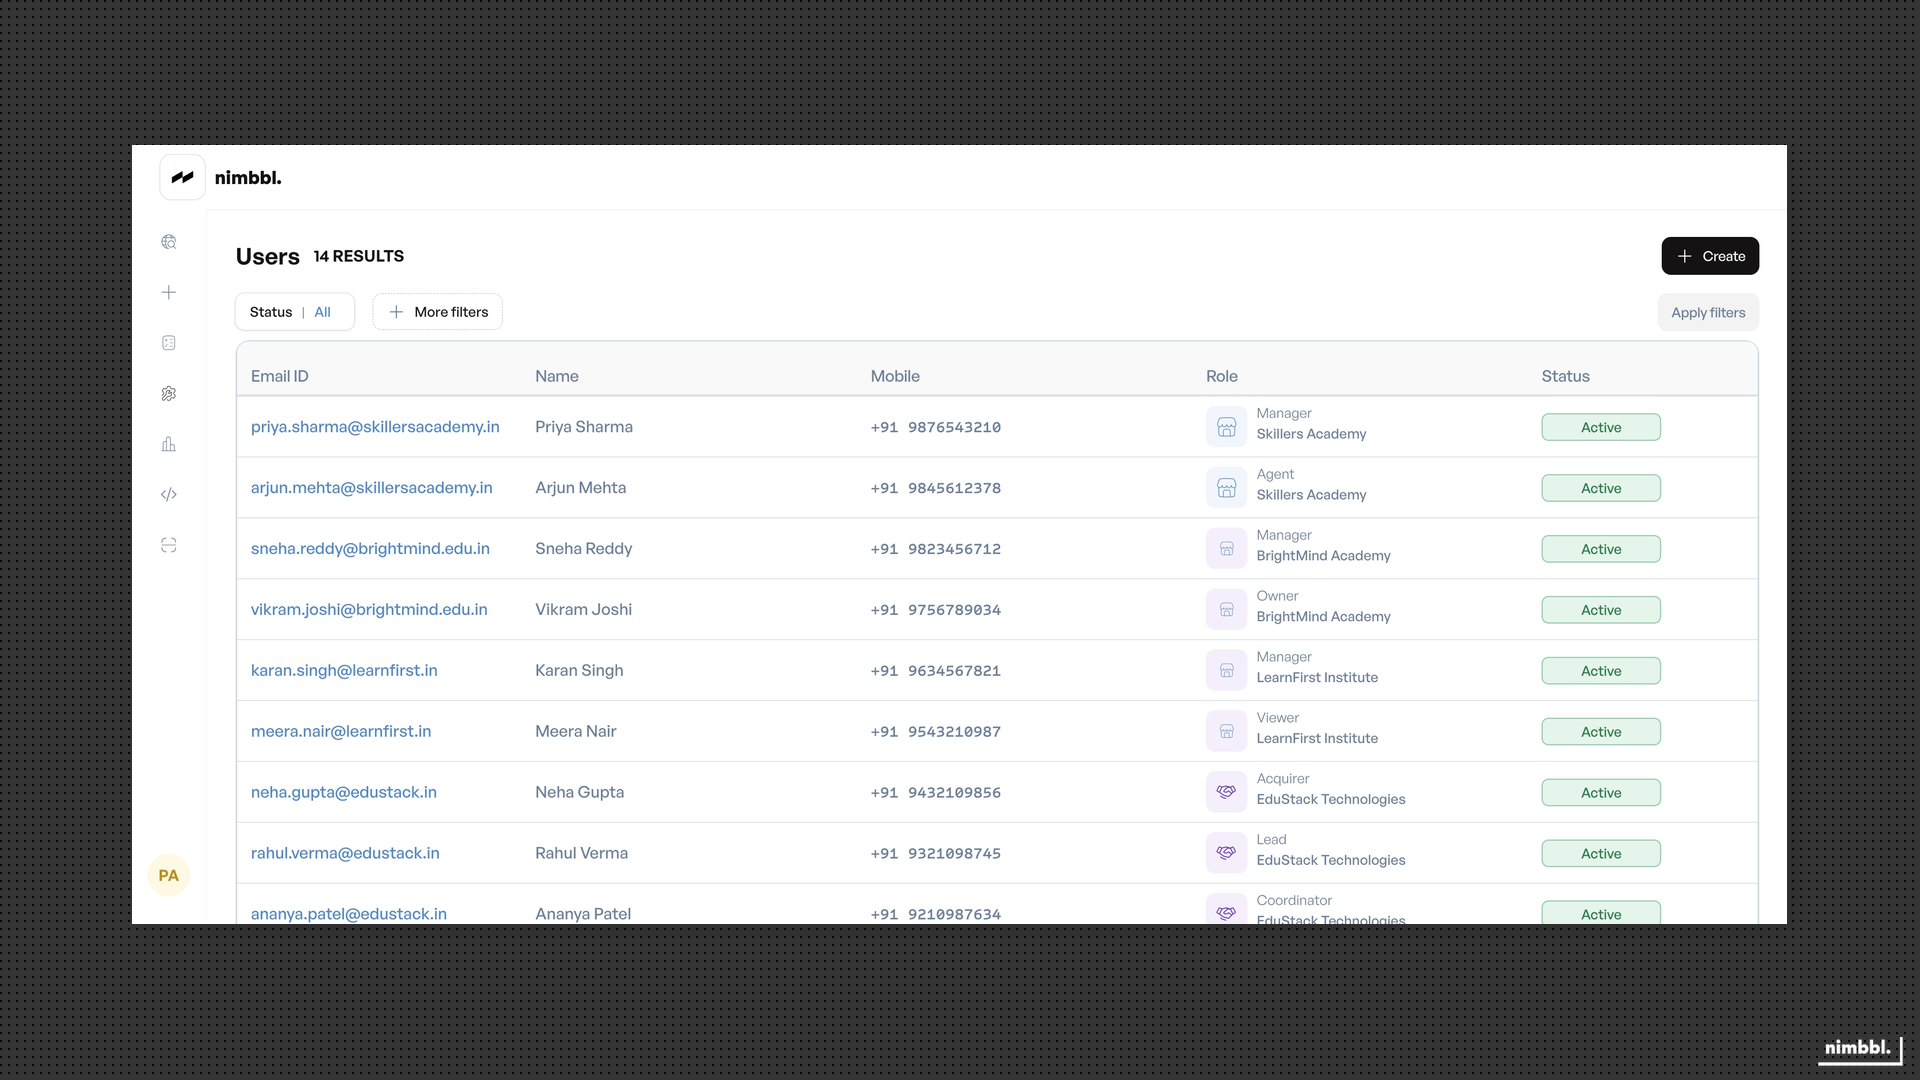
Managing Existing Users
The People page shows your partner team members as well as any merchant-level users you have created for the merchants you manage. From this list you can:
- View user details — select a user to see their profile, role, and access configuration.
- Edit role or access — update the assigned role or change which merchants or sub-merchants the user can access. Changes take effect immediately.
- Activate or deactivate — toggle a user's status. Deactivated users cannot log in until reactivated.
- Reset password — send a password reset link to the user's email.
Deactivating a user immediately prevents them from accessing Command Center. Make sure the user no longer needs access before deactivating.
Email addresses and User Type cannot be changed after creation. If you need to change a user's email, create a new user and deactivate the old one.