Customer Experience
This page explains the journey your customers follow when they visit and pay through a Payment Page. Understanding this flow helps you configure pages that create a smooth payment experience.
Accessing the Payment Page
Customers reach your Payment Page by visiting its URL directly. The URL follows the pattern pages.nimbbl.tech/{your-slug}, where the slug is the custom identifier you set when creating the page.
Customers typically receive the URL through:
- Direct link sharing -- you send the URL via WhatsApp, social media, or any messaging channel
- SMS -- Nimbbl sends the page link to the customer's mobile number
- Email -- Nimbbl sends the page link to the customer's email address
- Website embed -- you embed a Pay Now button on your website that links to the page
- QR code -- you convert the page URL into a QR code for offline or print distribution
When a customer opens the URL, they see your branded payment page with your logo, brand colors, and brand name.
Completing Payment Details
On the Payment Page, the customer fills out the payment form. The form contents depend on how you configured the page.
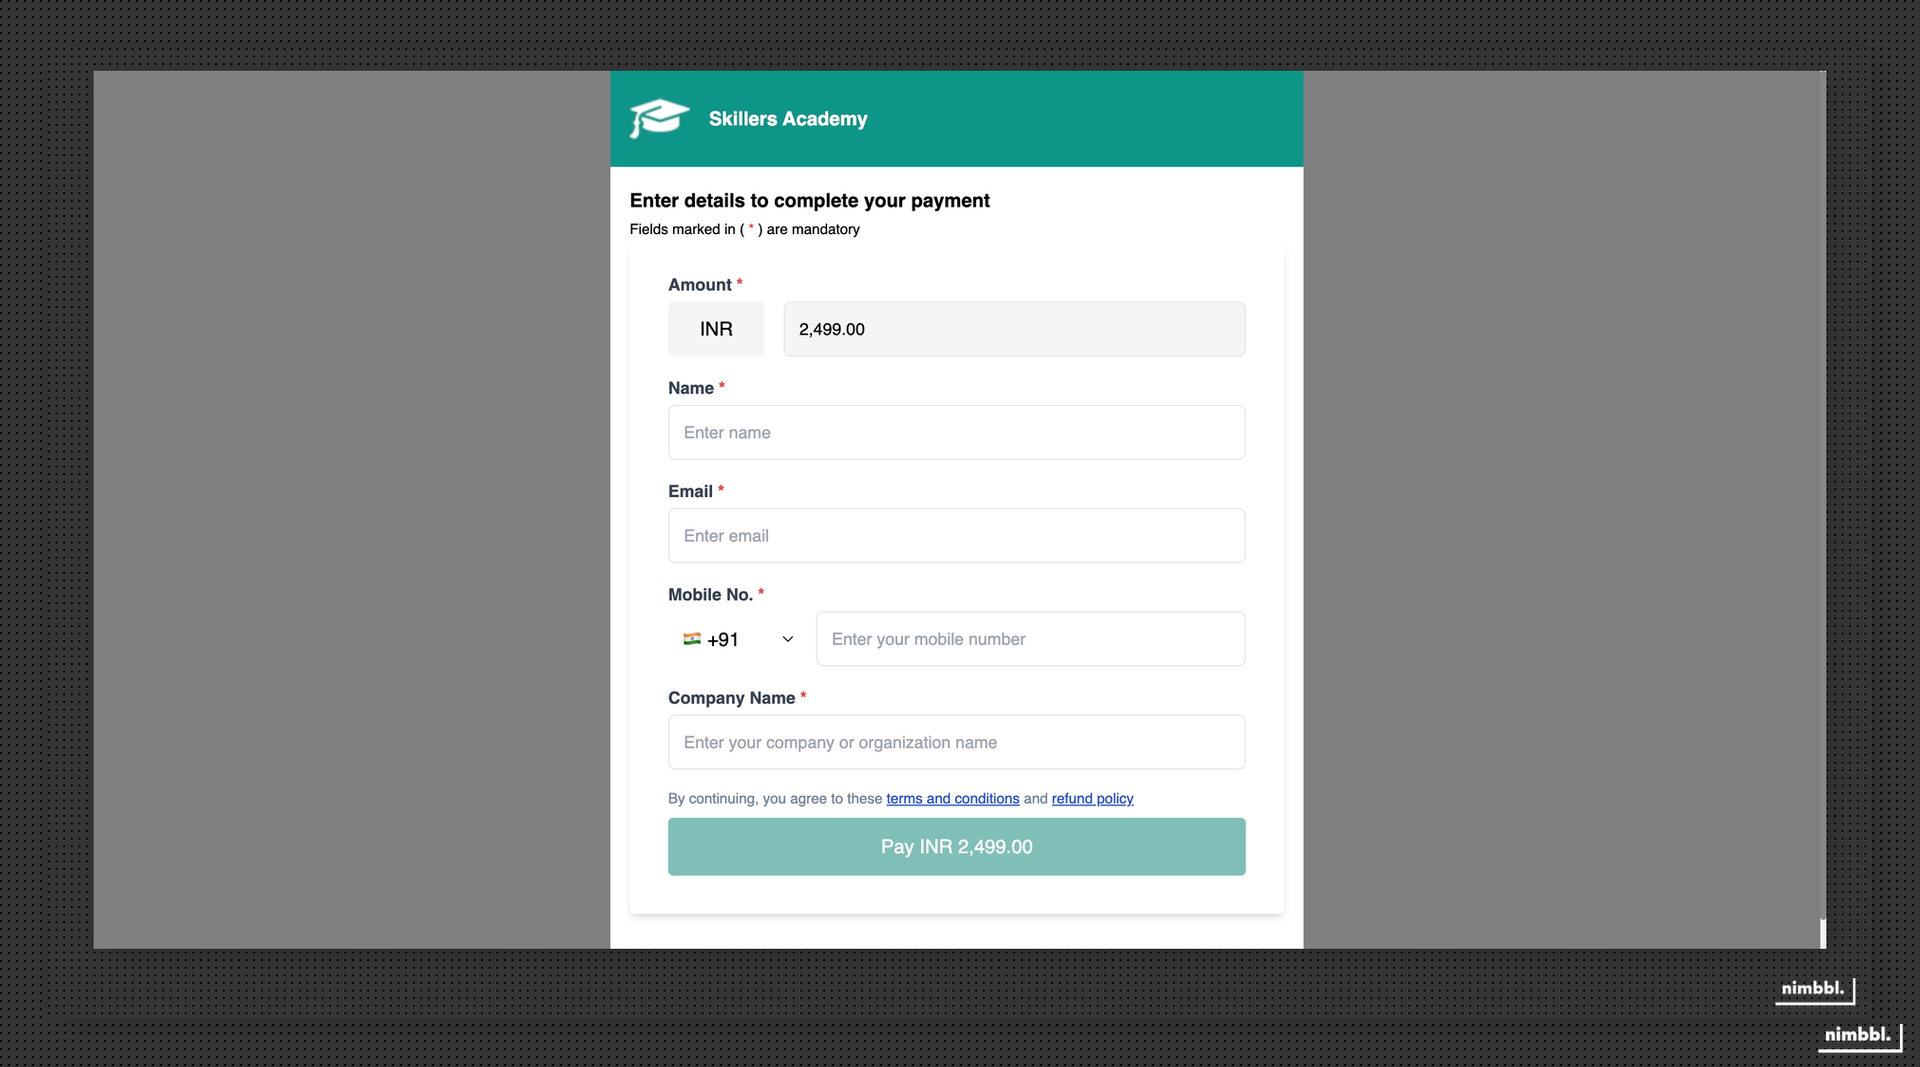
Customer details -- every Payment Page collects the customer's name, mobile number (with country code), and email address. These fields are always mandatory.
Payment amount -- on fixed amount pages, the amount is pre-filled and cannot be changed. On custom amount pages, the customer enters the amount they want to pay.
Custom fields -- if you configured custom fields on the Attributes tab, they appear on the form. Customers fill them in based on the field type:
- Text -- free-form text input with optional regex validation
- Dropdown -- predefined options the customer selects from
- Boolean -- a yes/no toggle or checkbox
- Date -- a date picker
- Date and Time -- a date and time picker
Each custom field shows its label and any help text you configured. Mandatory fields must be filled before the customer can proceed.
For details on configuring custom fields, see Custom Fields for Payment Pages.
Terms and Refund Policy -- if configured, links to your Terms and Conditions and Refund Policy are displayed on the page, typically below the Pay Now button.
Completing Payment
After filling the form, the customer completes these steps:
- Clicks Pay Now -- the form validates all mandatory fields and custom field rules
- Order creation -- Nimbbl automatically creates an order with the customer details and custom field values
- Redirect to Sonic checkout -- the customer is redirected to Sonic checkout to select their payment mode and complete the transaction
- Payment mode selection -- the customer chooses from UPI, cards, Netbanking, wallets, Pay Later, or other available payment modes
- Payment completion -- the customer completes payment through the selected mode
All Sonic features are available during checkout, including personalization, offers, and EMI options.
Payment Confirmation
After the payment attempt:
- Successful payment -- the customer is redirected to a success page showing order confirmation, payment ID, payment amount, and transaction date
- Failed payment -- the customer sees an error message with the option to retry the payment
The success and failure pages are hosted by Nimbbl at pages.nimbbl.tech/{your-slug}/success and pages.nimbbl.tech/{your-slug}/failure respectively.