Payment pages are branded, full-page checkout experiences with custom fields. In Command Center, you create and manage them under Create --> Payment Pages. For detailed concepts, creation workflows, custom field configuration, and API integration, see the Payment Page guide in Plug and Play.
Accessing Payment Pages
Go to Create --> Payment Pages in the Command Center sidebar. From there you can:
- Open the list of existing payment pages (default view).
- Start a new payment page using the creation form.
All detailed creation workflows, key concepts (description, attributes, custom field types), and configuration details are documented in the Plug and Play Payment Page guide.
Viewing and Filtering Payment Pages
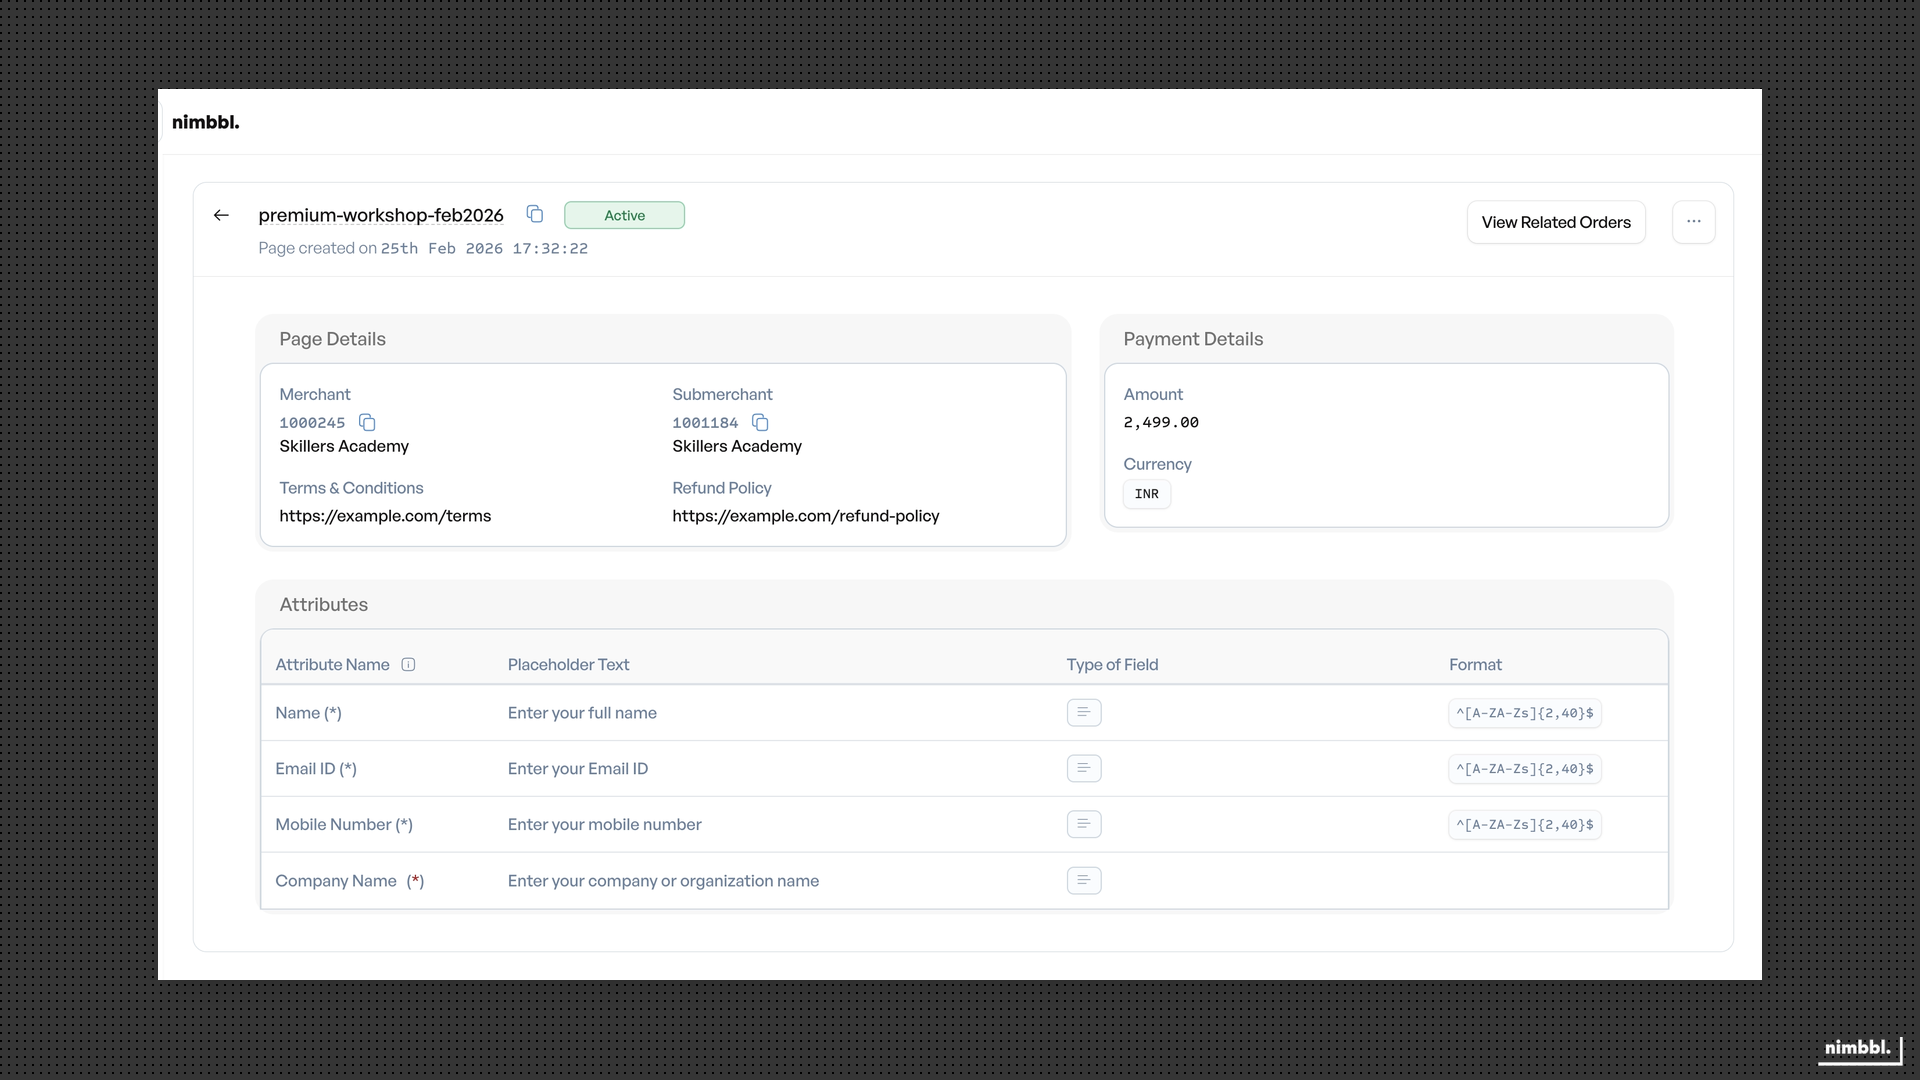
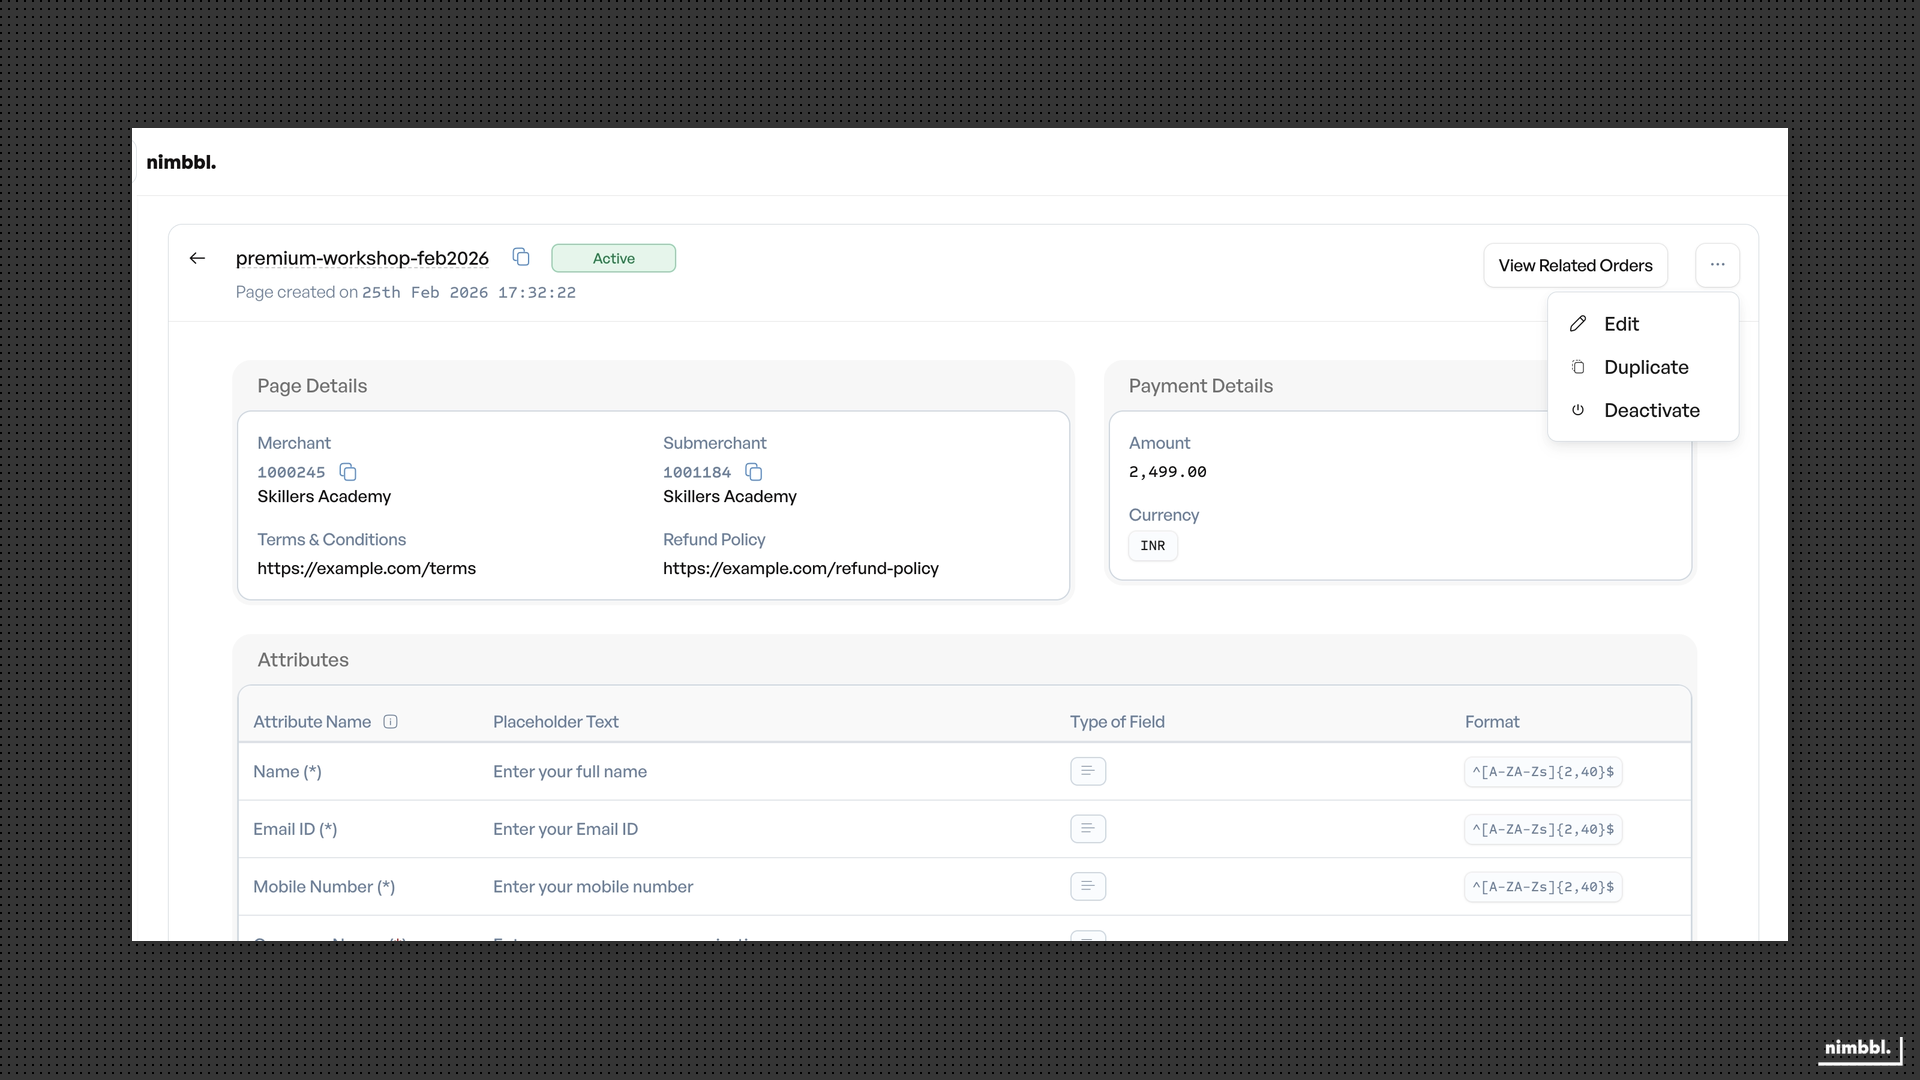
The default view shows the list of all payment pages. Use the filter panel to narrow results:
- Date range -- filter by start and end date.
- Status -- filter by one or more statuses.
- Slug -- filter by the page URL slug.
- Currency -- filter by currency.
- Sub-merchant -- filter by sub-merchant.
- Environment -- filter by Test or Live.
Select filters and apply them to update the list. Clear filters to reset. Filter state persists in the URL so you can share filtered views with colleagues.
Bulk creation is not available for payment pages.