Creating Subventions
A subvention is an EMI cost-sharing arrangement between you and your customers. When you create a subvention, you choose how much of the EMI interest to absorb -- either the full interest (no-cost EMI) or a portion of it (low-cost EMI). The customer sees a lower effective interest rate at checkout, making higher-value purchases more accessible. Subventions are part of the Boostr Affordability Engine.
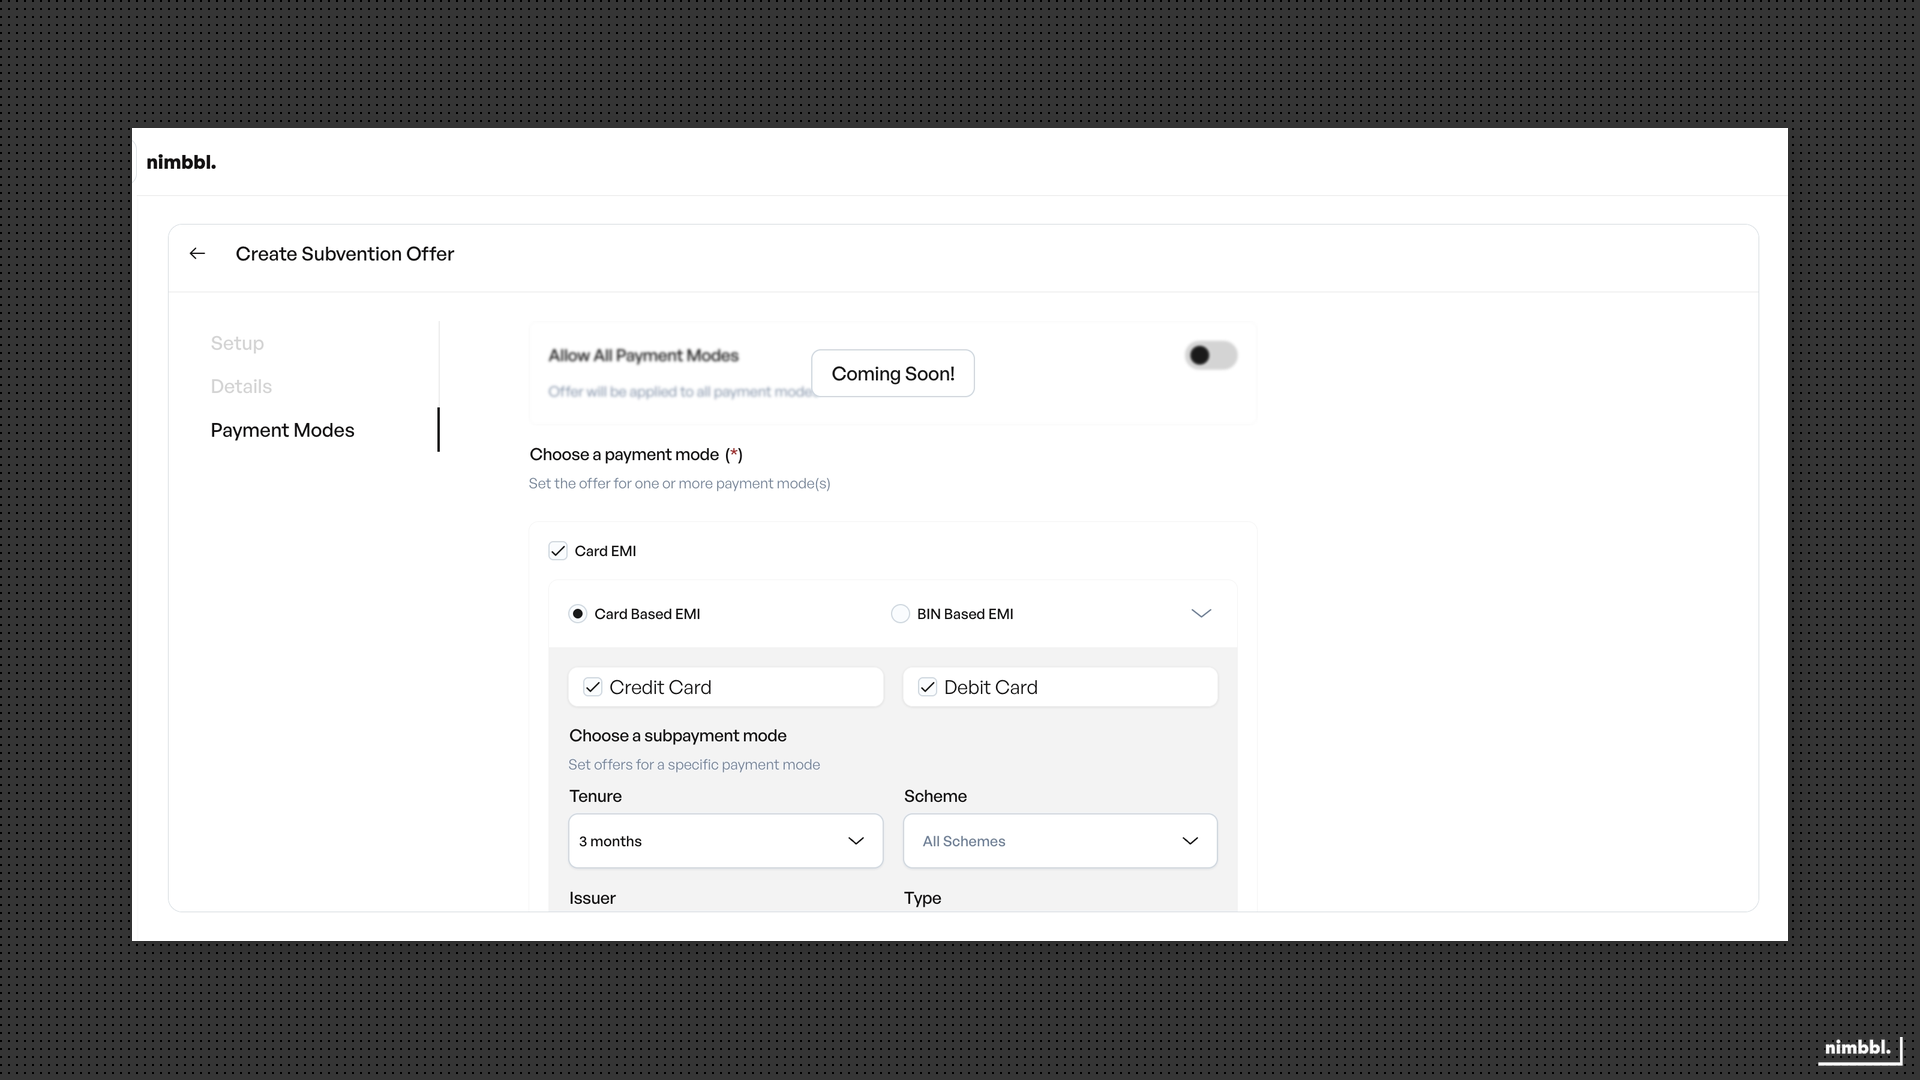
The creation workflow in Command Center uses three tabs: Setup, Details, and Payment Modes. In the Setup tab you select your sub-merchant, choose the subvention type and offer type, and set order constraints and usage limits. In the Details tab you provide the subvention name, display text, validity period, and priority. In the Payment Modes tab you configure which Card EMI and Cardless EMI schemes the subvention applies to. Complete all three tabs and save to create the subvention.
Prerequisites
Before you can create a subvention, the following must be in place:
- Subventions enabled -- your sub-merchant must have subventions enabled at the account level. If you do not see your sub-merchant in the dropdown during creation, contact the Nimbbl support team to enable subventions.
- Command Center access -- you must have access to the Command Center with permissions to create subventions.
Subventions enablement, tiebreak strategy, and strict validation are sub-merchant level configurations managed by the Nimbbl support team. These settings are not available in the Command Center UI.
To start creating a subvention, navigate to Create --> Subventions in the Command Center sidebar, then click + Create.
Subvention Details
The creation form opens on the Setup tab. You complete this tab first, then move to Details and Payment Modes.
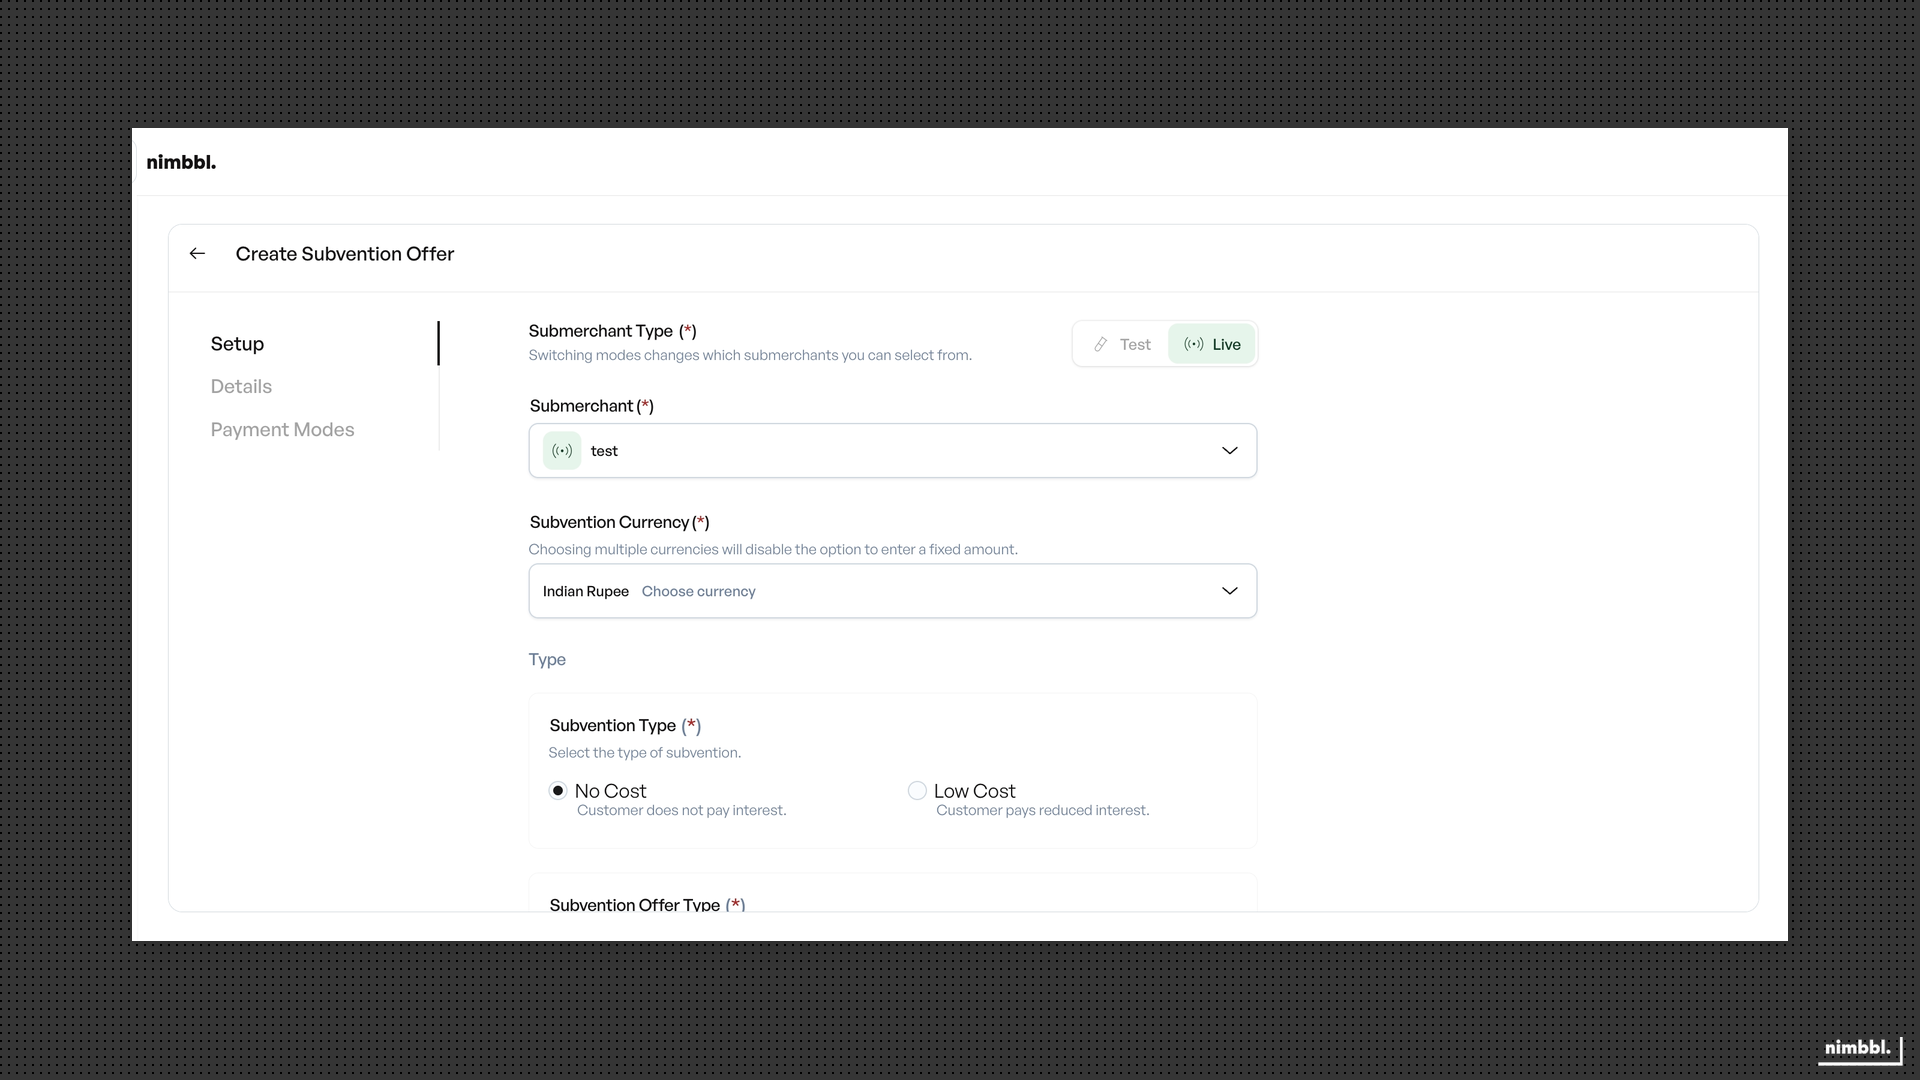
Sub-merchant selection
Select the sub-merchant from the dropdown. Only sub-merchants with subventions enabled appear in this list. If you manage multiple sub-merchants, make sure you select the correct one -- subventions are scoped to a single sub-merchant.
After selecting the sub-merchant, choose the currency for the subvention. Only active currencies configured for your sub-merchant are available.
Basic subvention information
Enter the following fields in the Details tab:
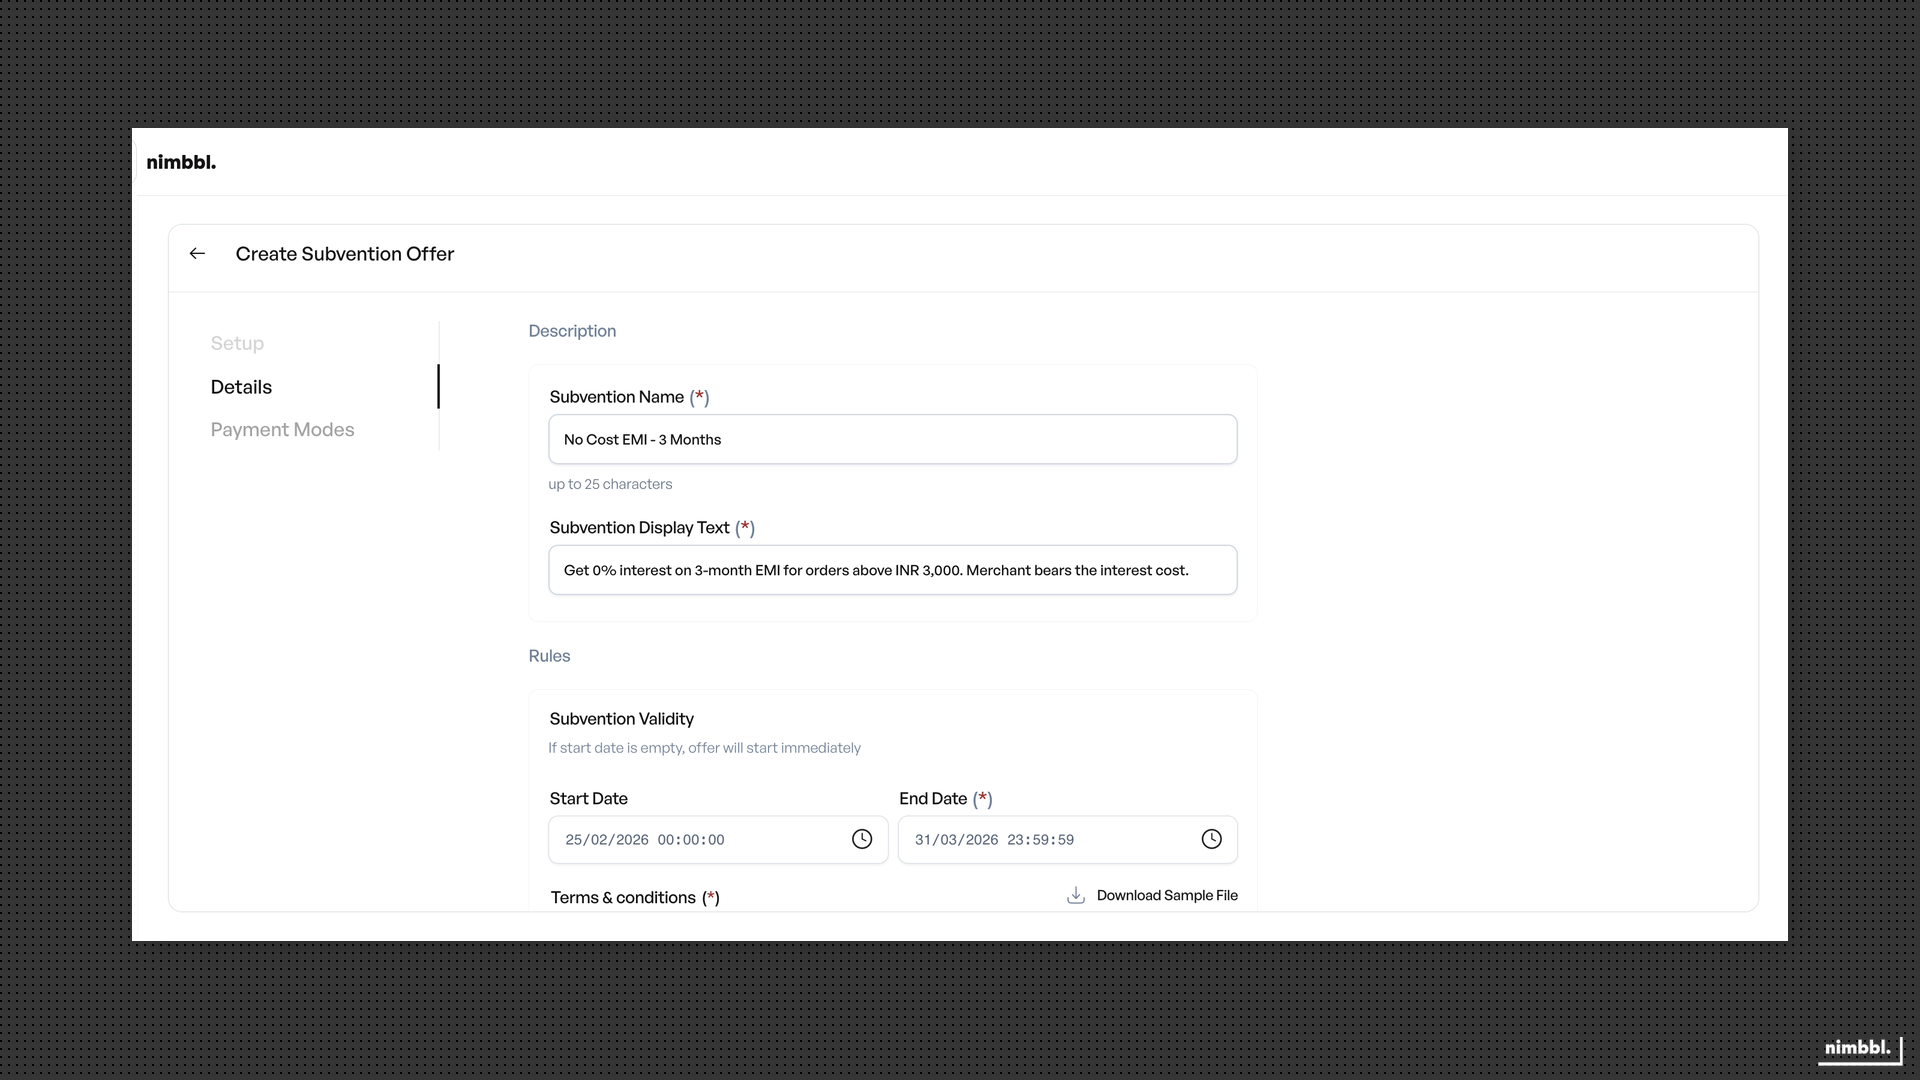
- Subvention Name -- a short name for internal identification. This field has a maximum of 25 characters. Choose a name that clearly describes the promotion (for example, "No Cost 6M HDFC" or "Low Cost Diwali").
- Display Text -- the text shown to customers at checkout. Write this from the customer's perspective so they understand the benefit (for example, "No Cost EMI on orders above Rs 5,000").
Keep the subvention name descriptive and concise. You will use it to search and filter subventions in the list view, so a clear naming convention makes management easier as the number of subventions grows.
Subvention type and offer type
Configure how the subvention reduces EMI cost and how the benefit is applied to the customer.
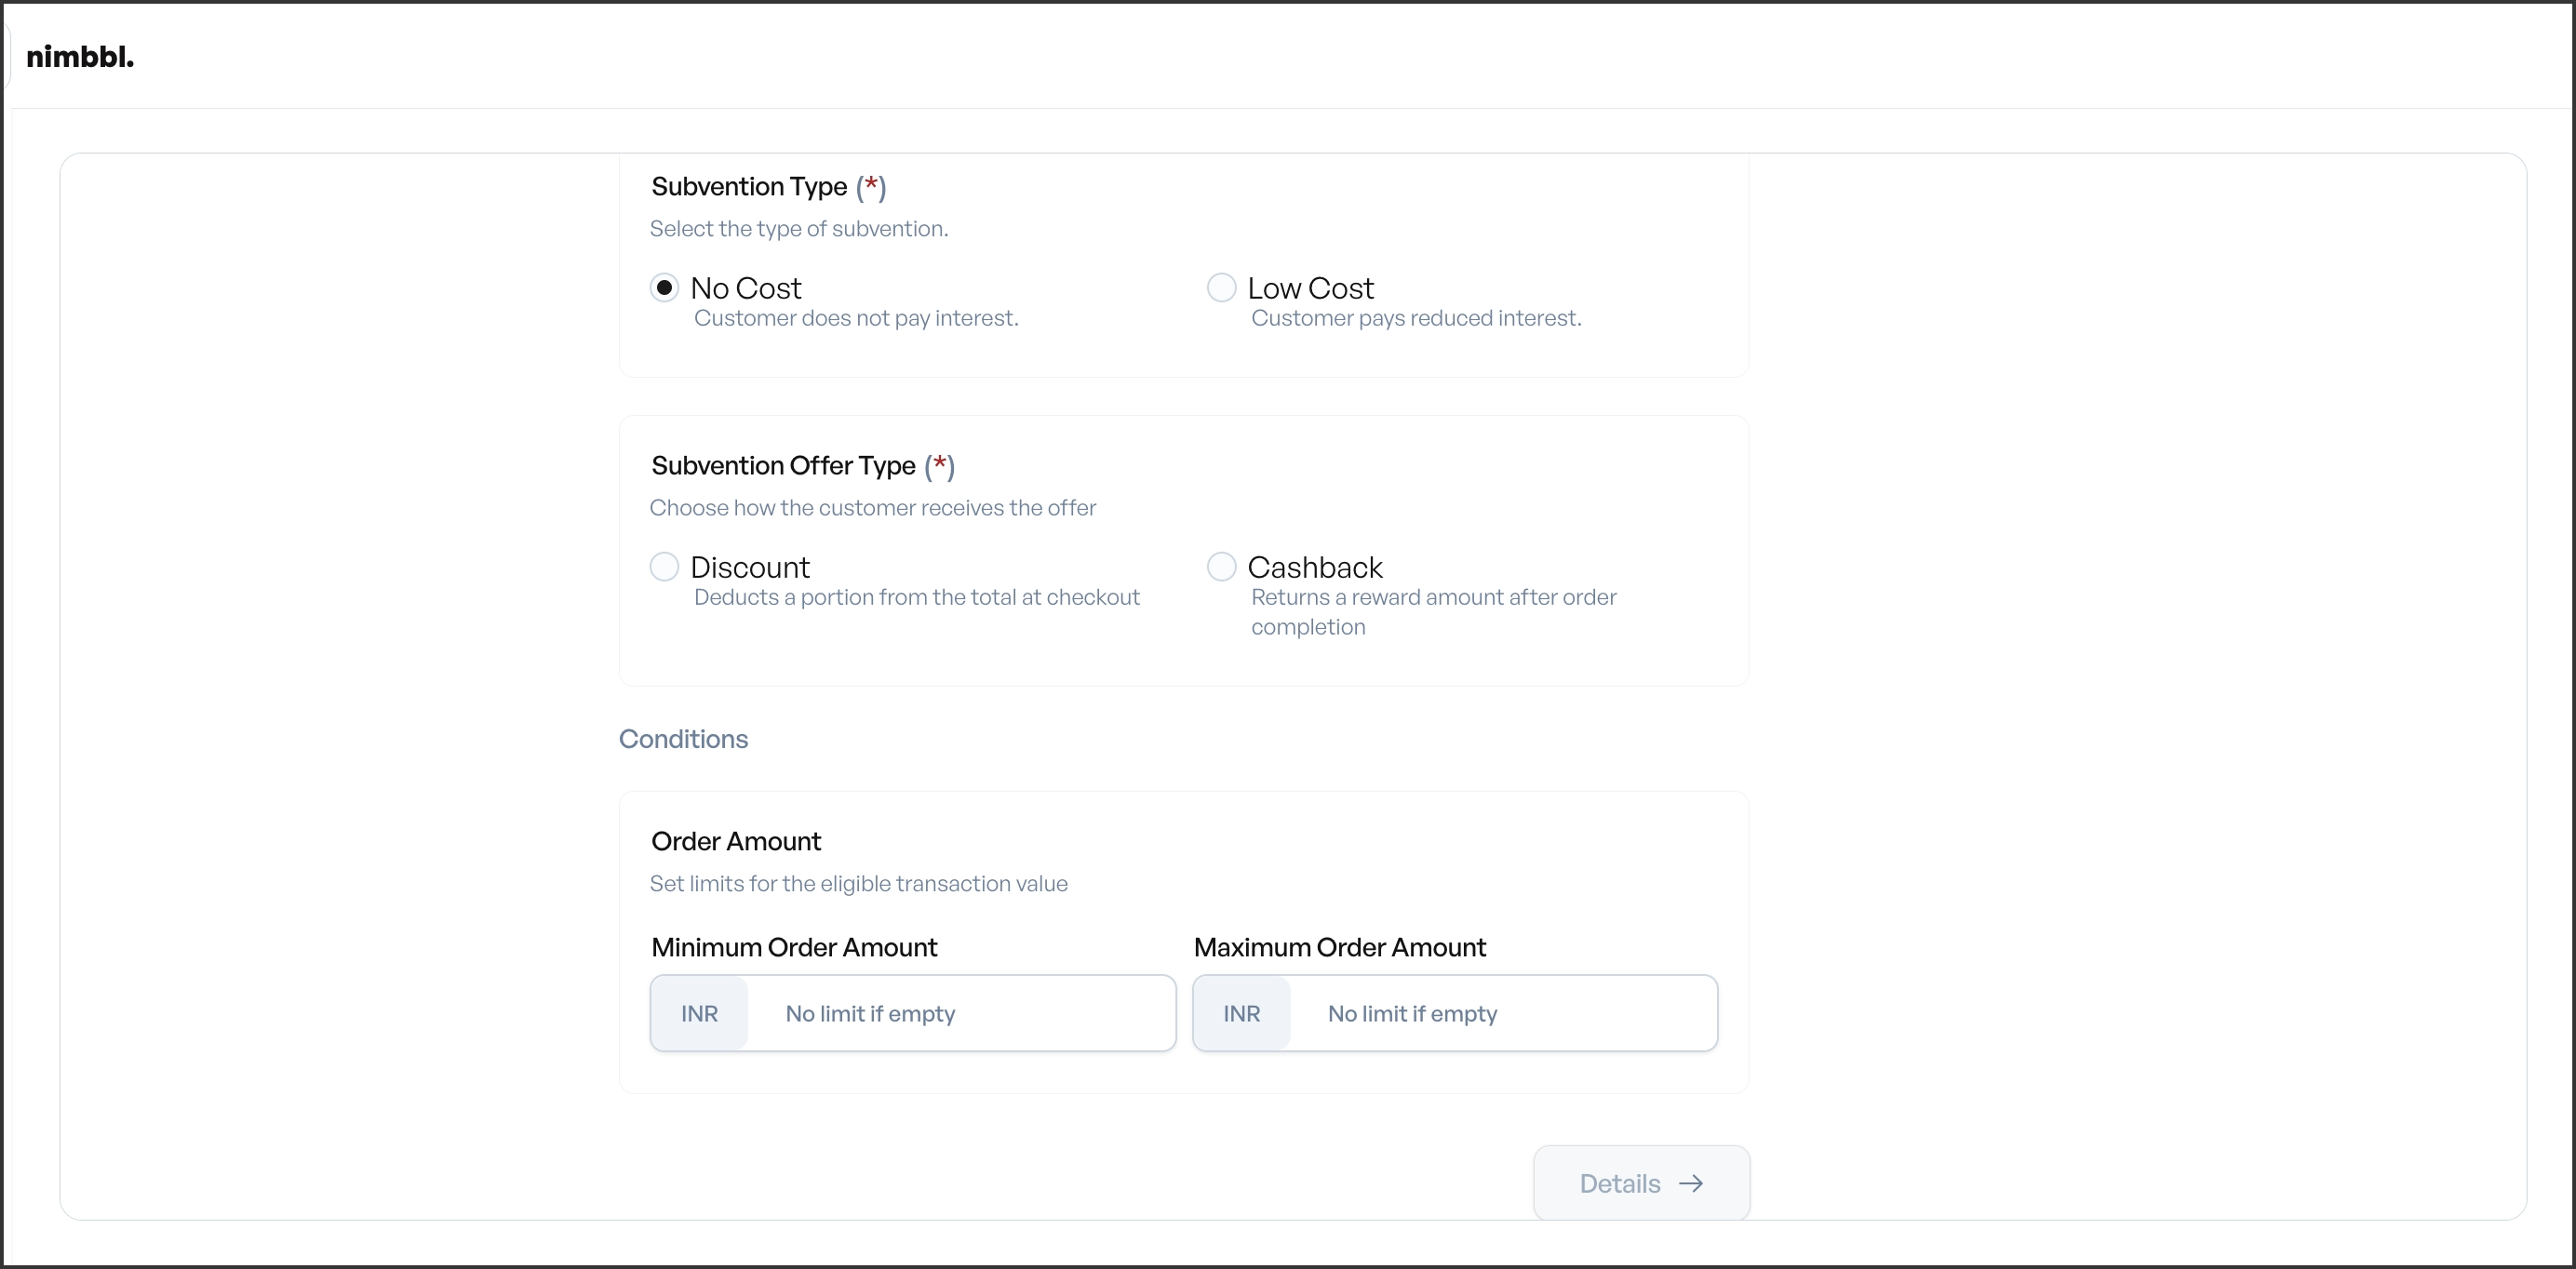
Subvention Type determines how much of the EMI interest you absorb:
- No Cost EMI -- the subvented interest rate is set to 0%. You absorb the entire EMI interest, so the customer pays zero interest on the EMI. This is the most aggressive affordability play and is commonly used during sale events and high-value product promotions.
- Low Cost EMI -- you specify a reduced interest rate that the customer pays. The difference between the standard EMI interest rate and your specified rate is absorbed by you. Use this when you want to reduce the customer's cost without absorbing the full interest.
Offer Type determines how the benefit reaches the customer:
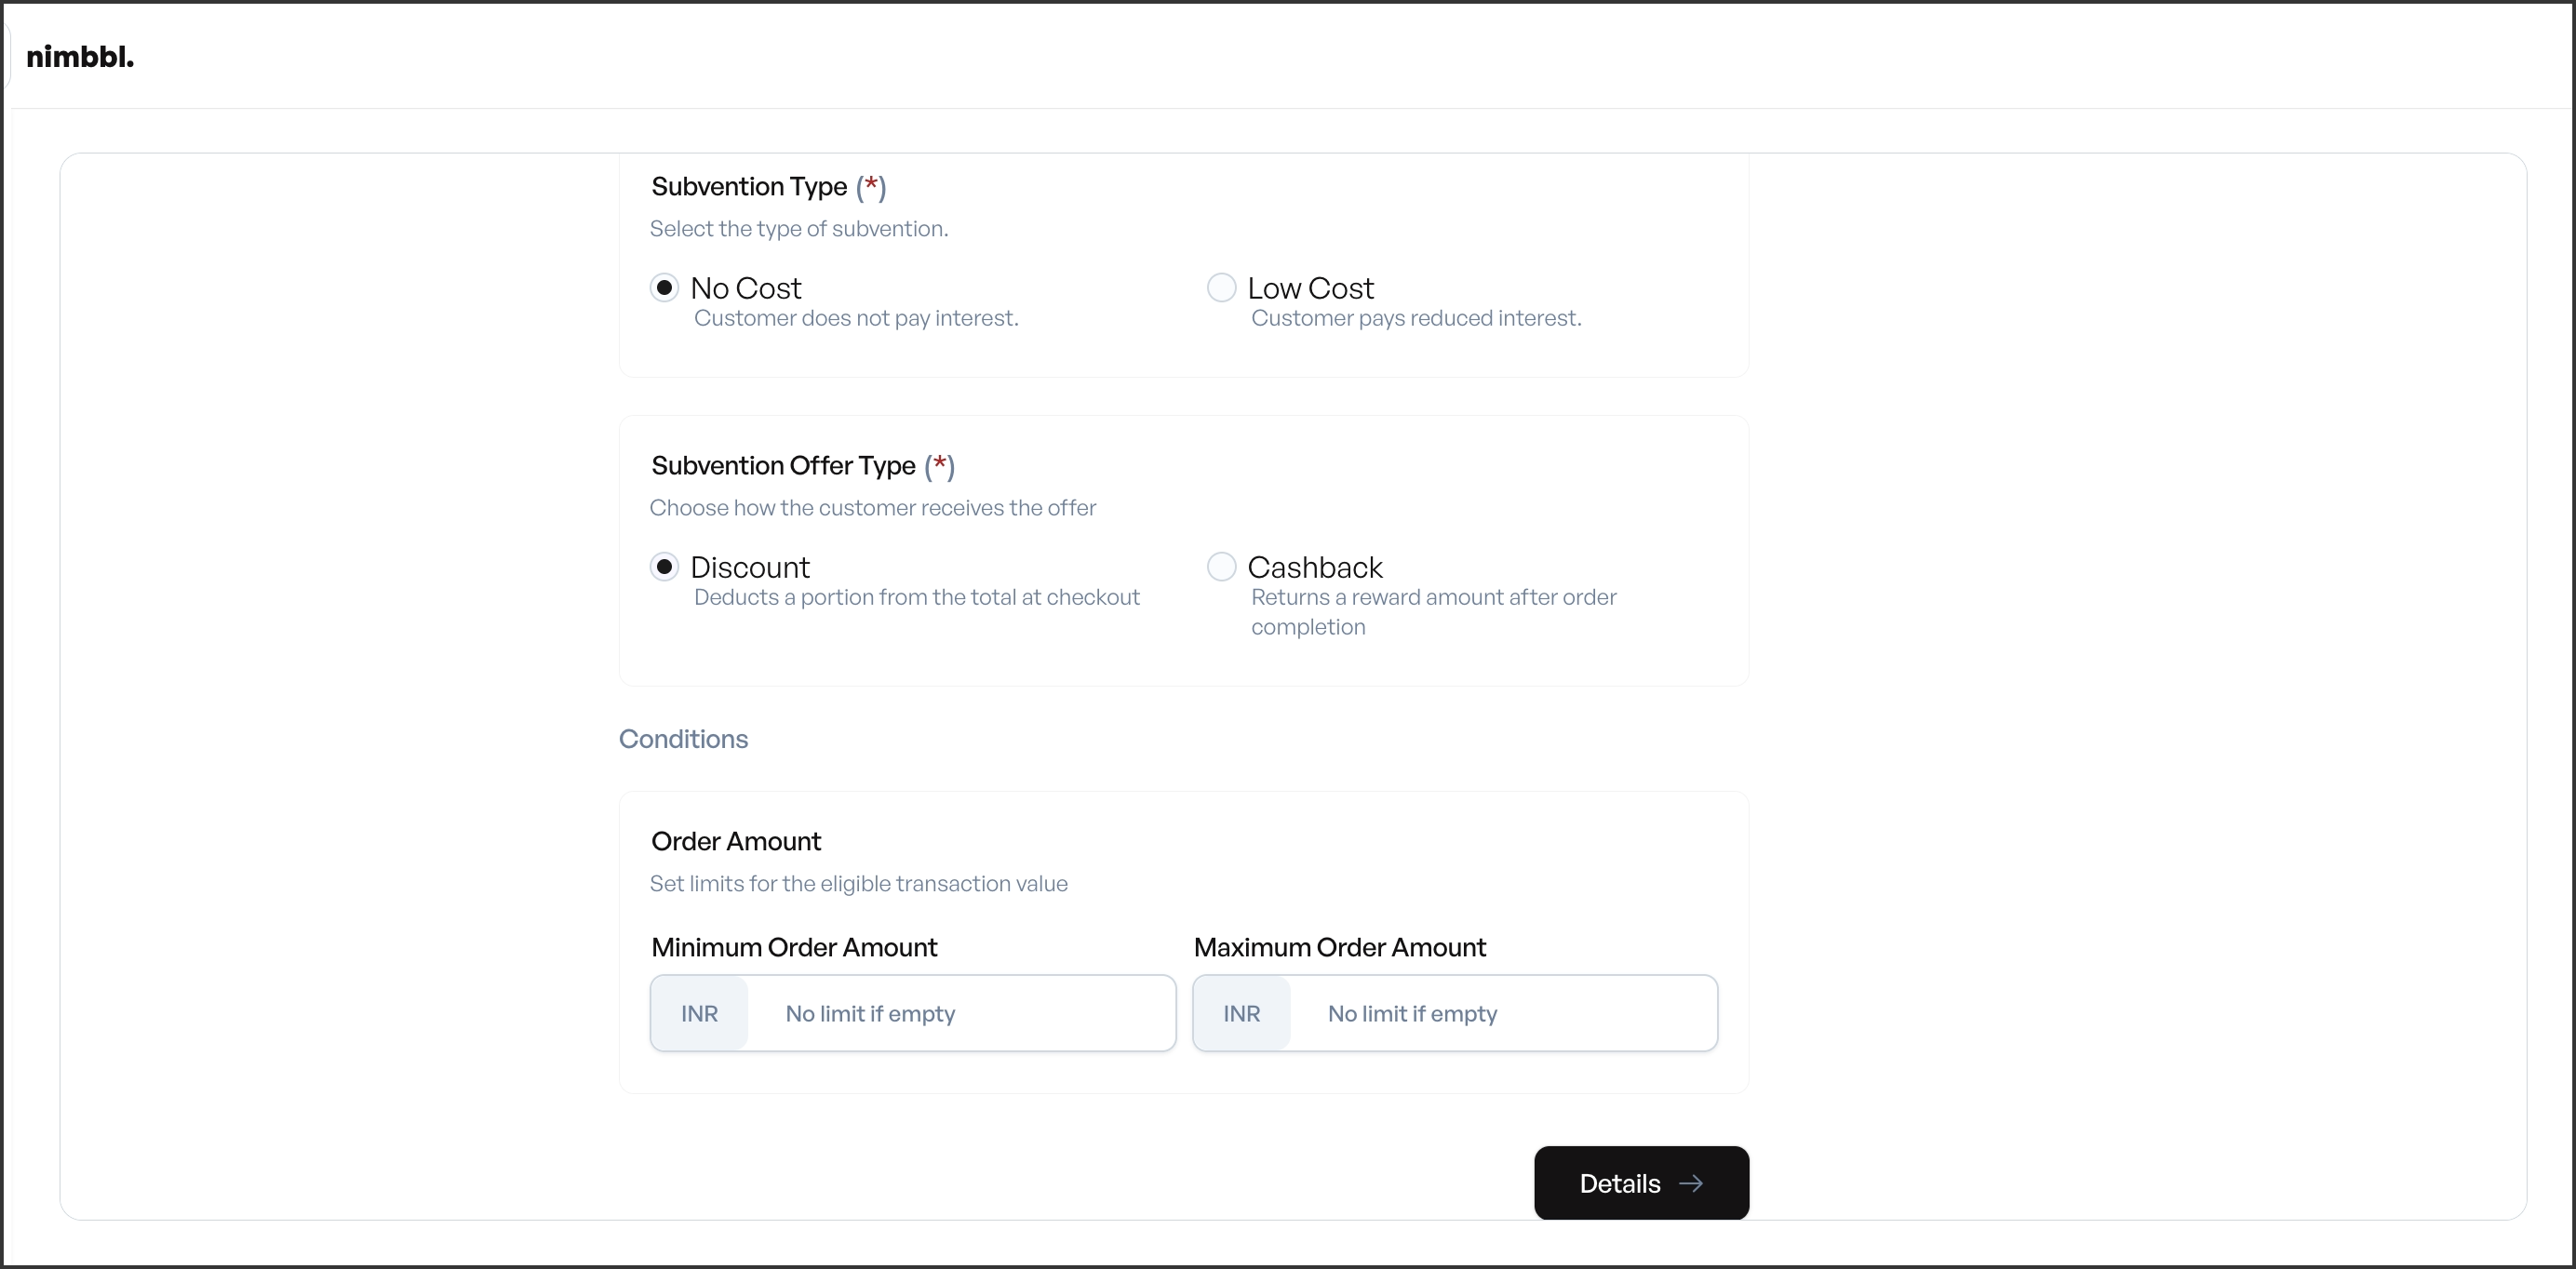
- Discount -- the subvention value is deducted from the order total at checkout. The customer sees a reduced payable amount before completing payment.
- Cashback -- the subvention value is returned to the customer after the order is completed. The customer pays the full amount at checkout and receives the reward afterward.
Once a subvention is created, the subvention type (no-cost or low-cost) and offer type (discount or cashback) cannot be changed. To use a different combination, create a new subvention.
Priority and constraints
Priority determines which subvention is applied when multiple subventions match a single transaction. Enter a numeric value greater than 0. Each active subvention for the same sub-merchant must have a unique priority value. Lower numeric values represent higher priority -- a subvention with priority 1 is evaluated before one with priority 5.
Plan your priority values with gaps (for example, 10, 20, 30) so you can insert new subventions between existing ones without renumbering.
Order amount constraints let you restrict when the subvention is eligible based on the order total:
- Minimum order amount -- the order total must be at least this value for the subvention to apply. Use this to ensure EMI is only offered on purchases above a meaningful threshold.
- Maximum order amount -- the order total must not exceed this value. Set this to cap your exposure on very large orders. If you do not want an upper limit, leave this field at 0 or empty.
Validity and additional fields
Set the time window during which the subvention is active:
- Start date -- the date from which the subvention becomes eligible. Transactions before this date are not eligible.
- End date -- the last date on which the subvention is eligible. The end date must be on or after the start date. Transactions after this date are not eligible.
Terms and Conditions is an optional text field. If provided, the terms are displayed to customers at checkout alongside the subvention details. Use this to communicate any conditions, exclusions, or fine print associated with the promotion.
EMI Configuration
The Payment Modes tab is where you define which EMI schemes, card types, issuers, and tenures the subvention applies to. Since subventions are EMI-specific, this tab focuses on Card EMI and Cardless EMI configuration.
Allow all payment modes toggle
At the top of the Payment Modes tab, you will see an Allow All Payment Modes toggle.
- Enabled -- the subvention applies to all Card EMI and Cardless EMI schemes automatically. You do not need to configure individual targeting rules. This is the fastest way to set up a subvention that should apply broadly.
- Disabled -- you must manually configure which EMI types, issuers, and tenures are eligible. Use this for targeted promotions where you want to restrict the subvention to specific card networks, banks, or EMI providers.
Card EMI configuration
When you disable the "Allow All Payment Modes" toggle and enable Card EMI, you choose between two targeting approaches: Card Based and BIN Based.
Card Based targeting
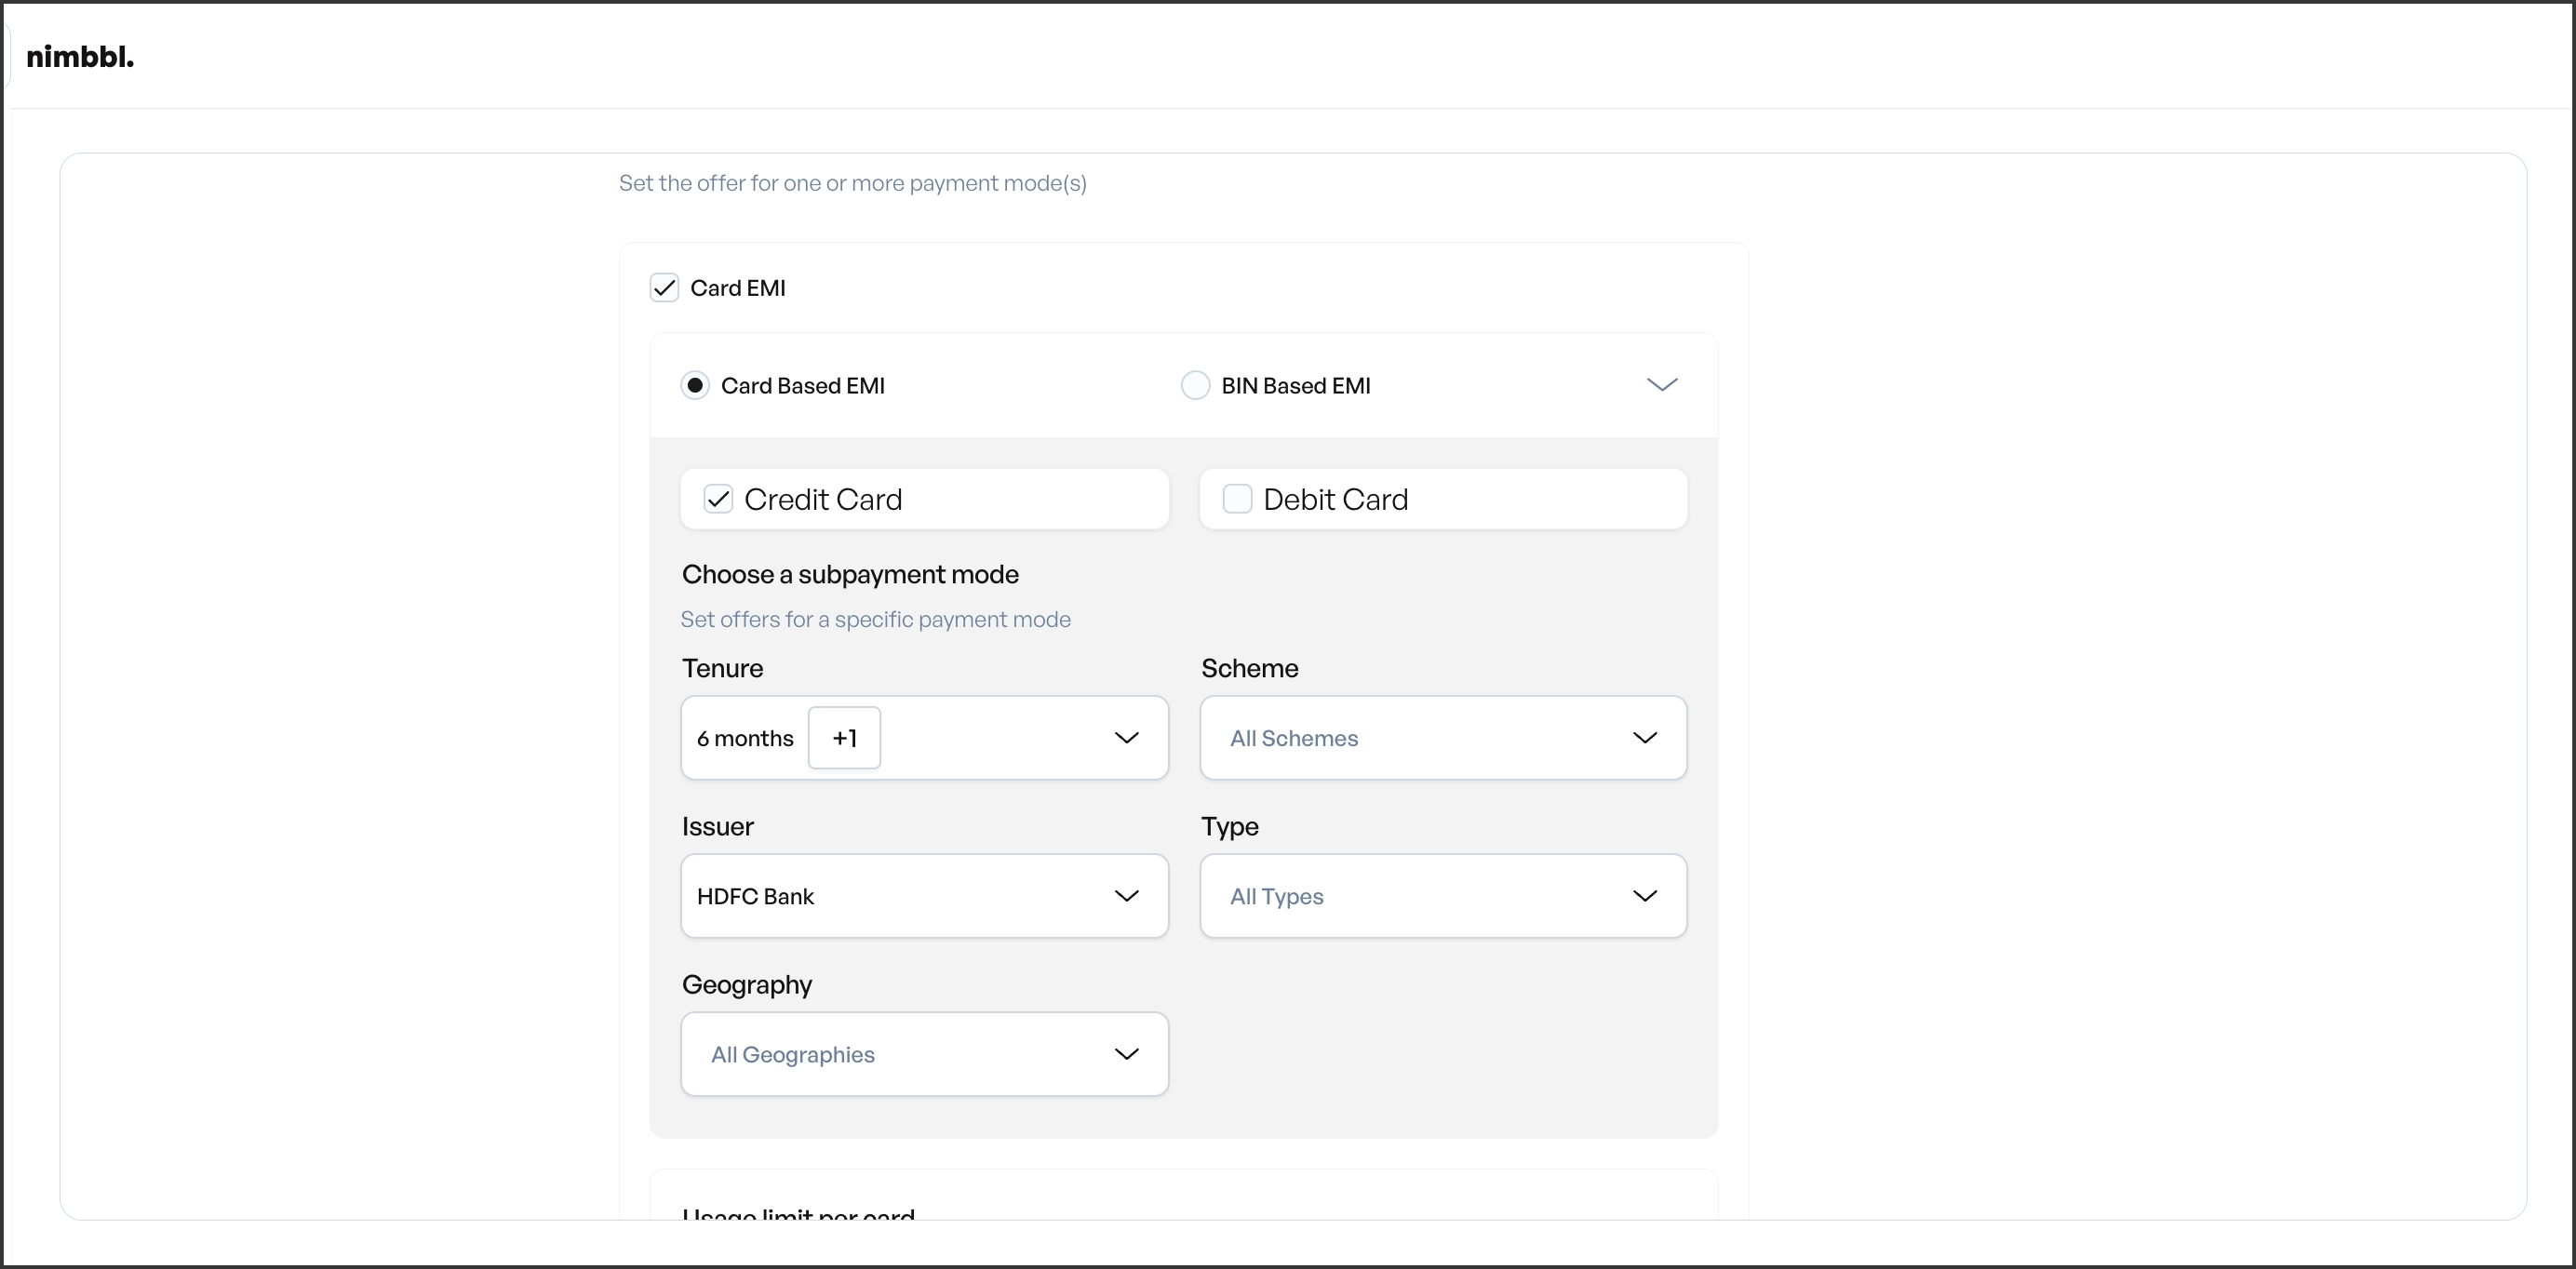
Card Based targeting uses card attributes to determine eligibility. Configure the following selectors:
- Card type -- toggle between Credit and Debit cards. You can enable both or select only one. Only EMI transactions on the selected card types are eligible.
- Tenure -- select the EMI tenures this subvention covers (for example, 3 months, 6 months, 9 months, 12 months, 18 months, 24 months). You can select multiple tenures. Only transactions with the selected tenure are eligible.
- Scheme -- select card networks such as Visa, Mastercard, or RuPay. Leave unselected to allow all schemes.
- Issuer -- select specific issuer banks (for example, HDFC, ICICI, SBI). Leave unselected to allow all issuers.
- Type -- further classify the card type if needed.
- Geography -- choose Domestic (cards issued within India), International (cards issued outside India), or allow both.
All selectors work together as an AND condition. A transaction must match every configured selector to be eligible.
BIN Based targeting
BIN Based targeting uses Bank Identification Numbers for precise card-level targeting. This is useful when you want to target a specific set of cards that cannot be identified by issuer or scheme alone.
- BIN input -- enter BINs manually. Each BIN must be 6 to 10 digits long. You can enter individual BINs or BIN ranges using a hyphen (for example, "526217-526219" covers all BINs from 526217 through 526219).
- File upload -- upload a file containing BINs in bulk. Supported file formats are .xls and .csv. Each row in the file should contain one BIN or BIN range.
- Tenure -- select the eligible EMI tenures, the same as in Card Based targeting.
Use BIN Based targeting when you have a co-branded card promotion or a bank partnership that covers a specific range of card numbers. The BIN range format ("526217-526219") lets you cover multiple BINs without listing each one individually.
Cardless EMI configuration
Cardless EMI allows customers to avail EMI without a physical card. When you enable Cardless EMI, you choose between two options:
- All issuers -- the subvention applies to all available Cardless EMI providers.
- Specific issuers -- select individual Cardless EMI providers from the list. Only transactions through the selected providers are eligible.
Cardless EMI issuers that use redirect-based authentication flows are not supported for subventions. These issuers will not appear in the selection list, or if selected, will be rejected during validation. This is a platform-level restriction.
Tenure targeting
Tenure selection is available in both Card EMI and Cardless EMI configurations. Tenures represent the number of monthly installments the customer pays over the EMI period.
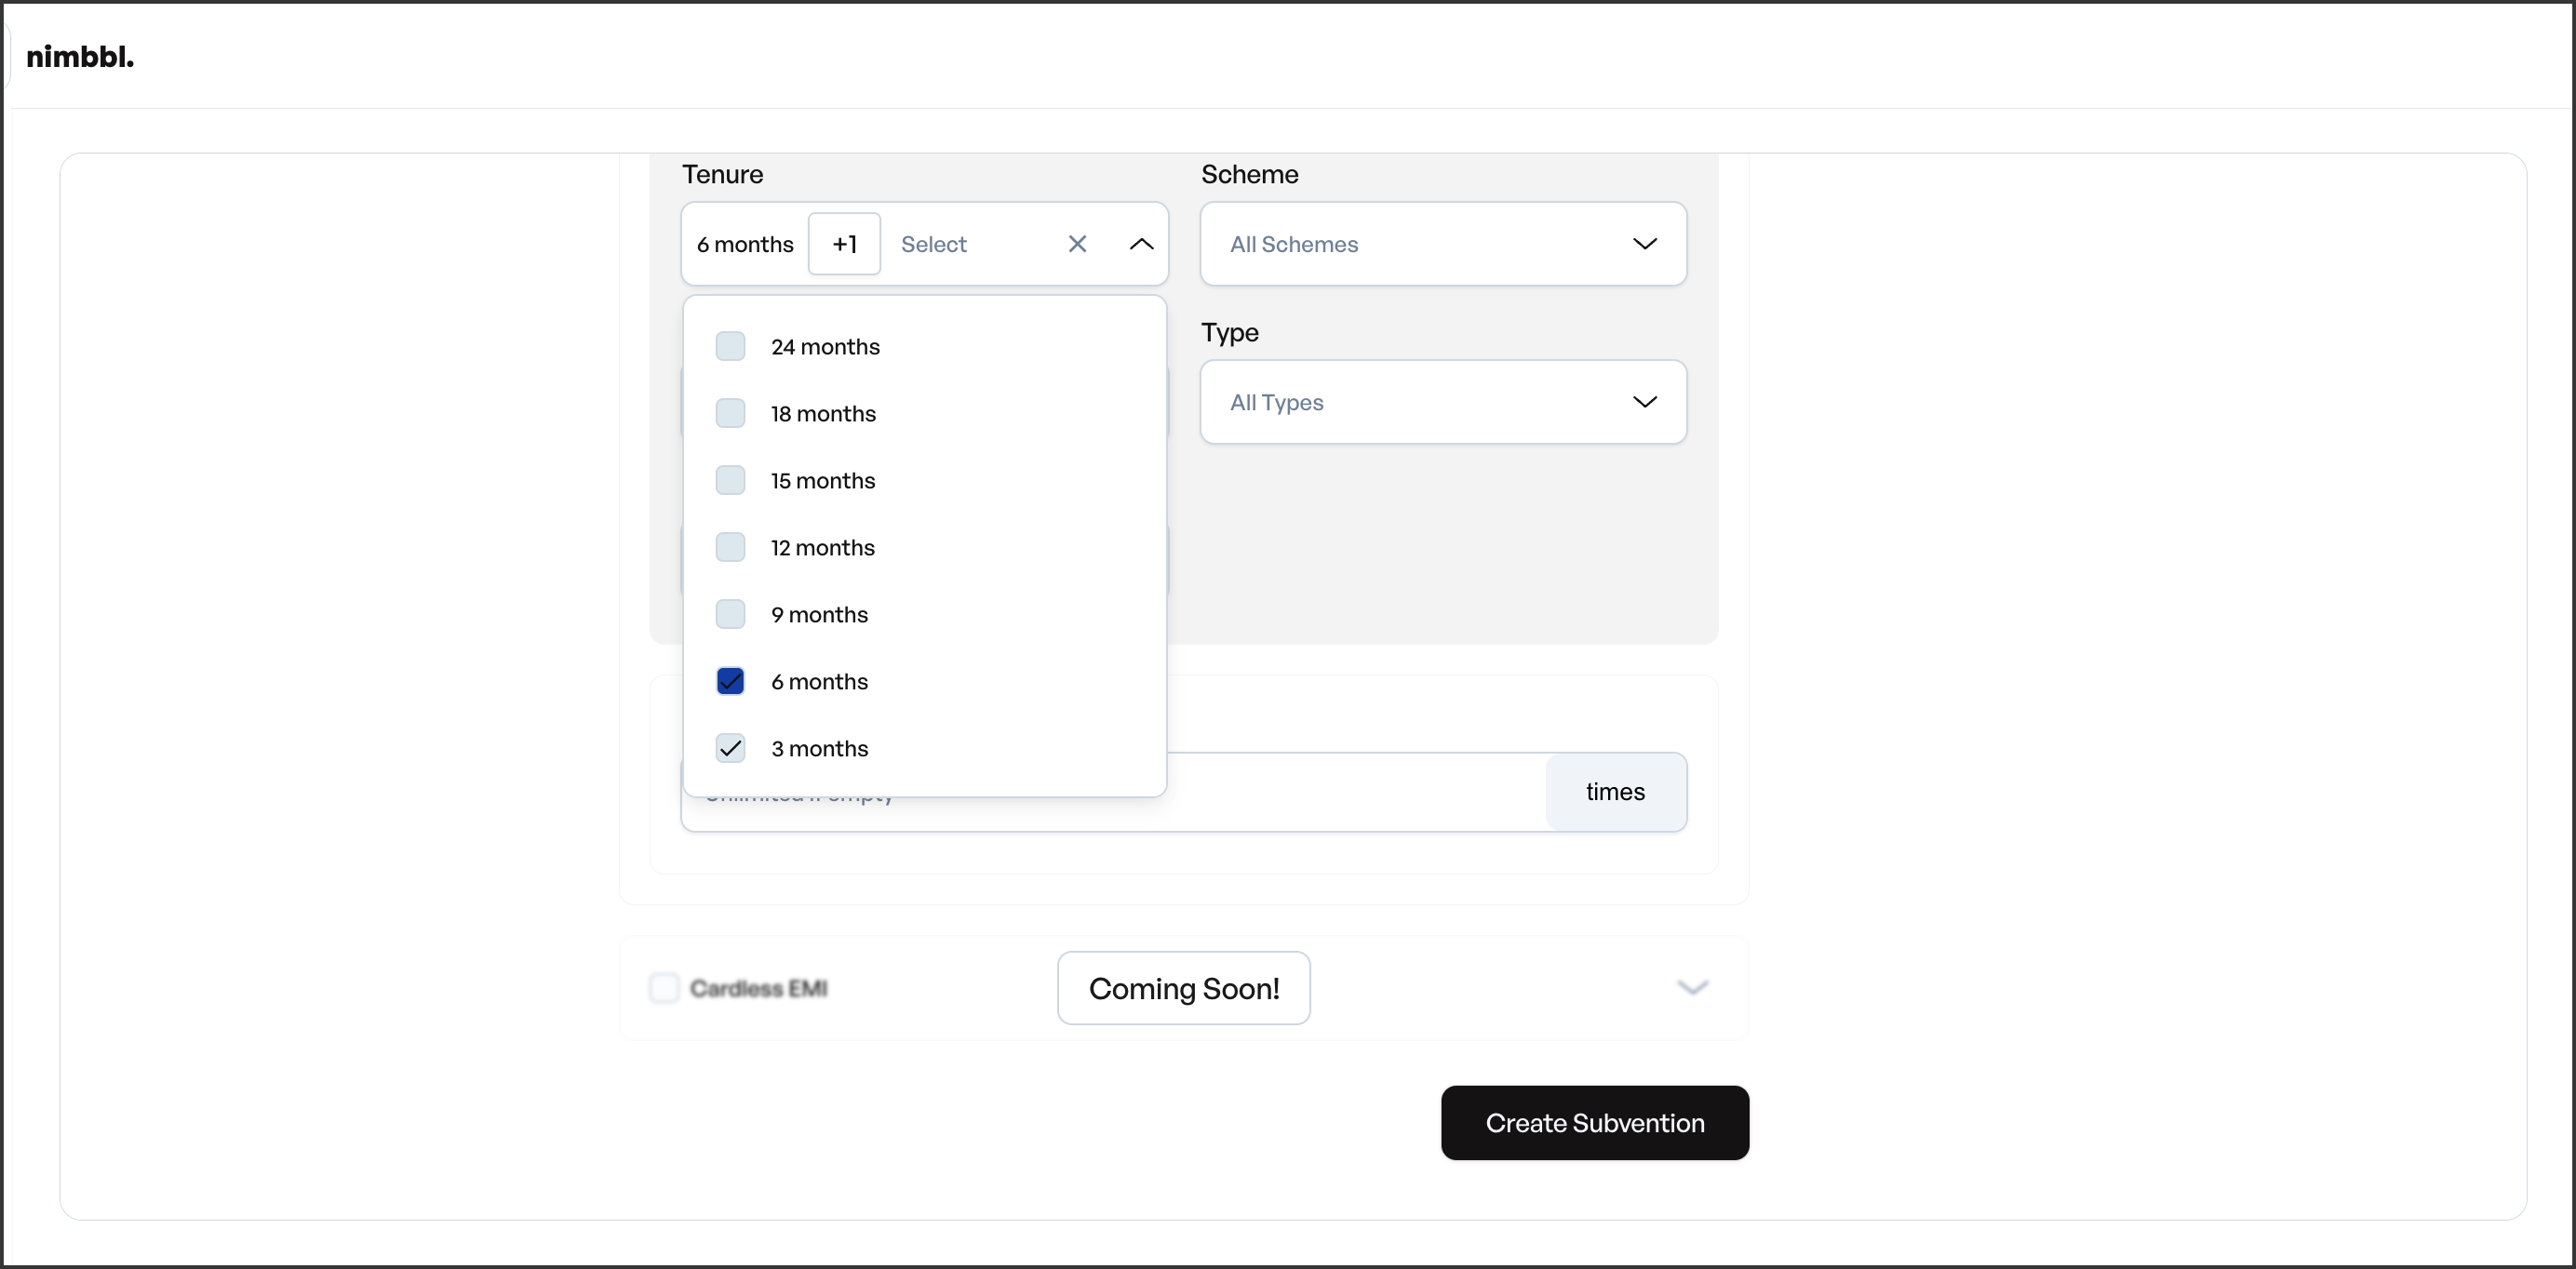
Available tenure options typically include:
| Tenure | Description |
|---|---|
| 3 months | Short-term EMI |
| 6 months | Medium-term EMI |
| 9 months | Medium-term EMI |
| 12 months | Standard annual EMI |
| 15 months | Extended EMI |
| 18 months | Extended EMI |
| 24 months | Long-term EMI |
Select one or more tenures. Only EMI transactions with a matching tenure are eligible for the subvention. If you want the subvention to apply across all tenures, select all available options or use the "Allow All Payment Modes" toggle.
The available tenures depend on what your payment partners support. Not all issuers offer all tenure options. If a tenure you need is not listed, check with your payment partner or contact Nimbbl support.
Usage Limits and Setup
Usage limits control how many times a subvention can be redeemed. These fields are configured in the Setup tab alongside the sub-merchant selection and order constraints.
Usage limits
Set the following limits to manage your subvention's redemption volume:
- Max usage -- the total number of times this subvention can be redeemed across all customers. Set to 0 for unlimited usage. Use this to cap the overall cost of a promotion (for example, limit a no-cost EMI offer to the first 1,000 transactions).
- Max usage per user -- the maximum number of times a single customer can redeem this subvention. Set to 0 for unlimited per-user usage. This prevents a single customer from repeatedly using the same subvention.
- Max usage per card -- the maximum number of times a specific card can be used to redeem this subvention. Set to 0 for unlimited per-card usage. This is useful when you want to ensure the benefit is spread across different cards rather than concentrated on a single one.
Usage is tracked in real time during order processing. Each limit is checked independently -- all configured limits must pass for the subvention to apply.
For launch promotions, consider setting a max usage limit to control costs while monitoring redemption rates. You can always increase the limit or set it to unlimited (0) later by editing the subvention.
Global Configuration Note
The following sub-merchant level configurations affect how subventions are evaluated but are not available in the Command Center UI. Contact the Nimbbl support team to configure or change these settings:
- Tiebreak strategy -- determines which subvention is selected when multiple subventions match a transaction. Options include highest priority, lowest priority, or best value for the customer.
- Strict validation -- controls whether the system enforces strict matching on all EMI parameters or allows flexible matching.
- Subventions enablement -- the master toggle that enables or disables the subventions feature for the sub-merchant.
Saving and Next Steps
After completing all three tabs -- Setup, Details, and Payment Modes -- click Save to create the subvention. The subvention is created with a Created status. It does not apply to transactions until you activate it.
To activate the subvention and make it live, go to the subvention detail view and change its status. The status lifecycle follows this progression:
- Created -- the subvention is saved but not active. No transactions are eligible.
- Active -- the subvention is live and applies to eligible transactions at checkout.
- Disabled -- the subvention is deactivated and no longer applies to new transactions.
For instructions on activating, editing, duplicating, and managing subvention status, see Managing Subventions.
Before activating a subvention, review all configuration details carefully. Verify the subvention type, offer type, EMI targeting rules, tenure selections, order constraints, and usage limits. While most fields can be edited after creation, the subvention type and offer type are fixed once saved.